Photo

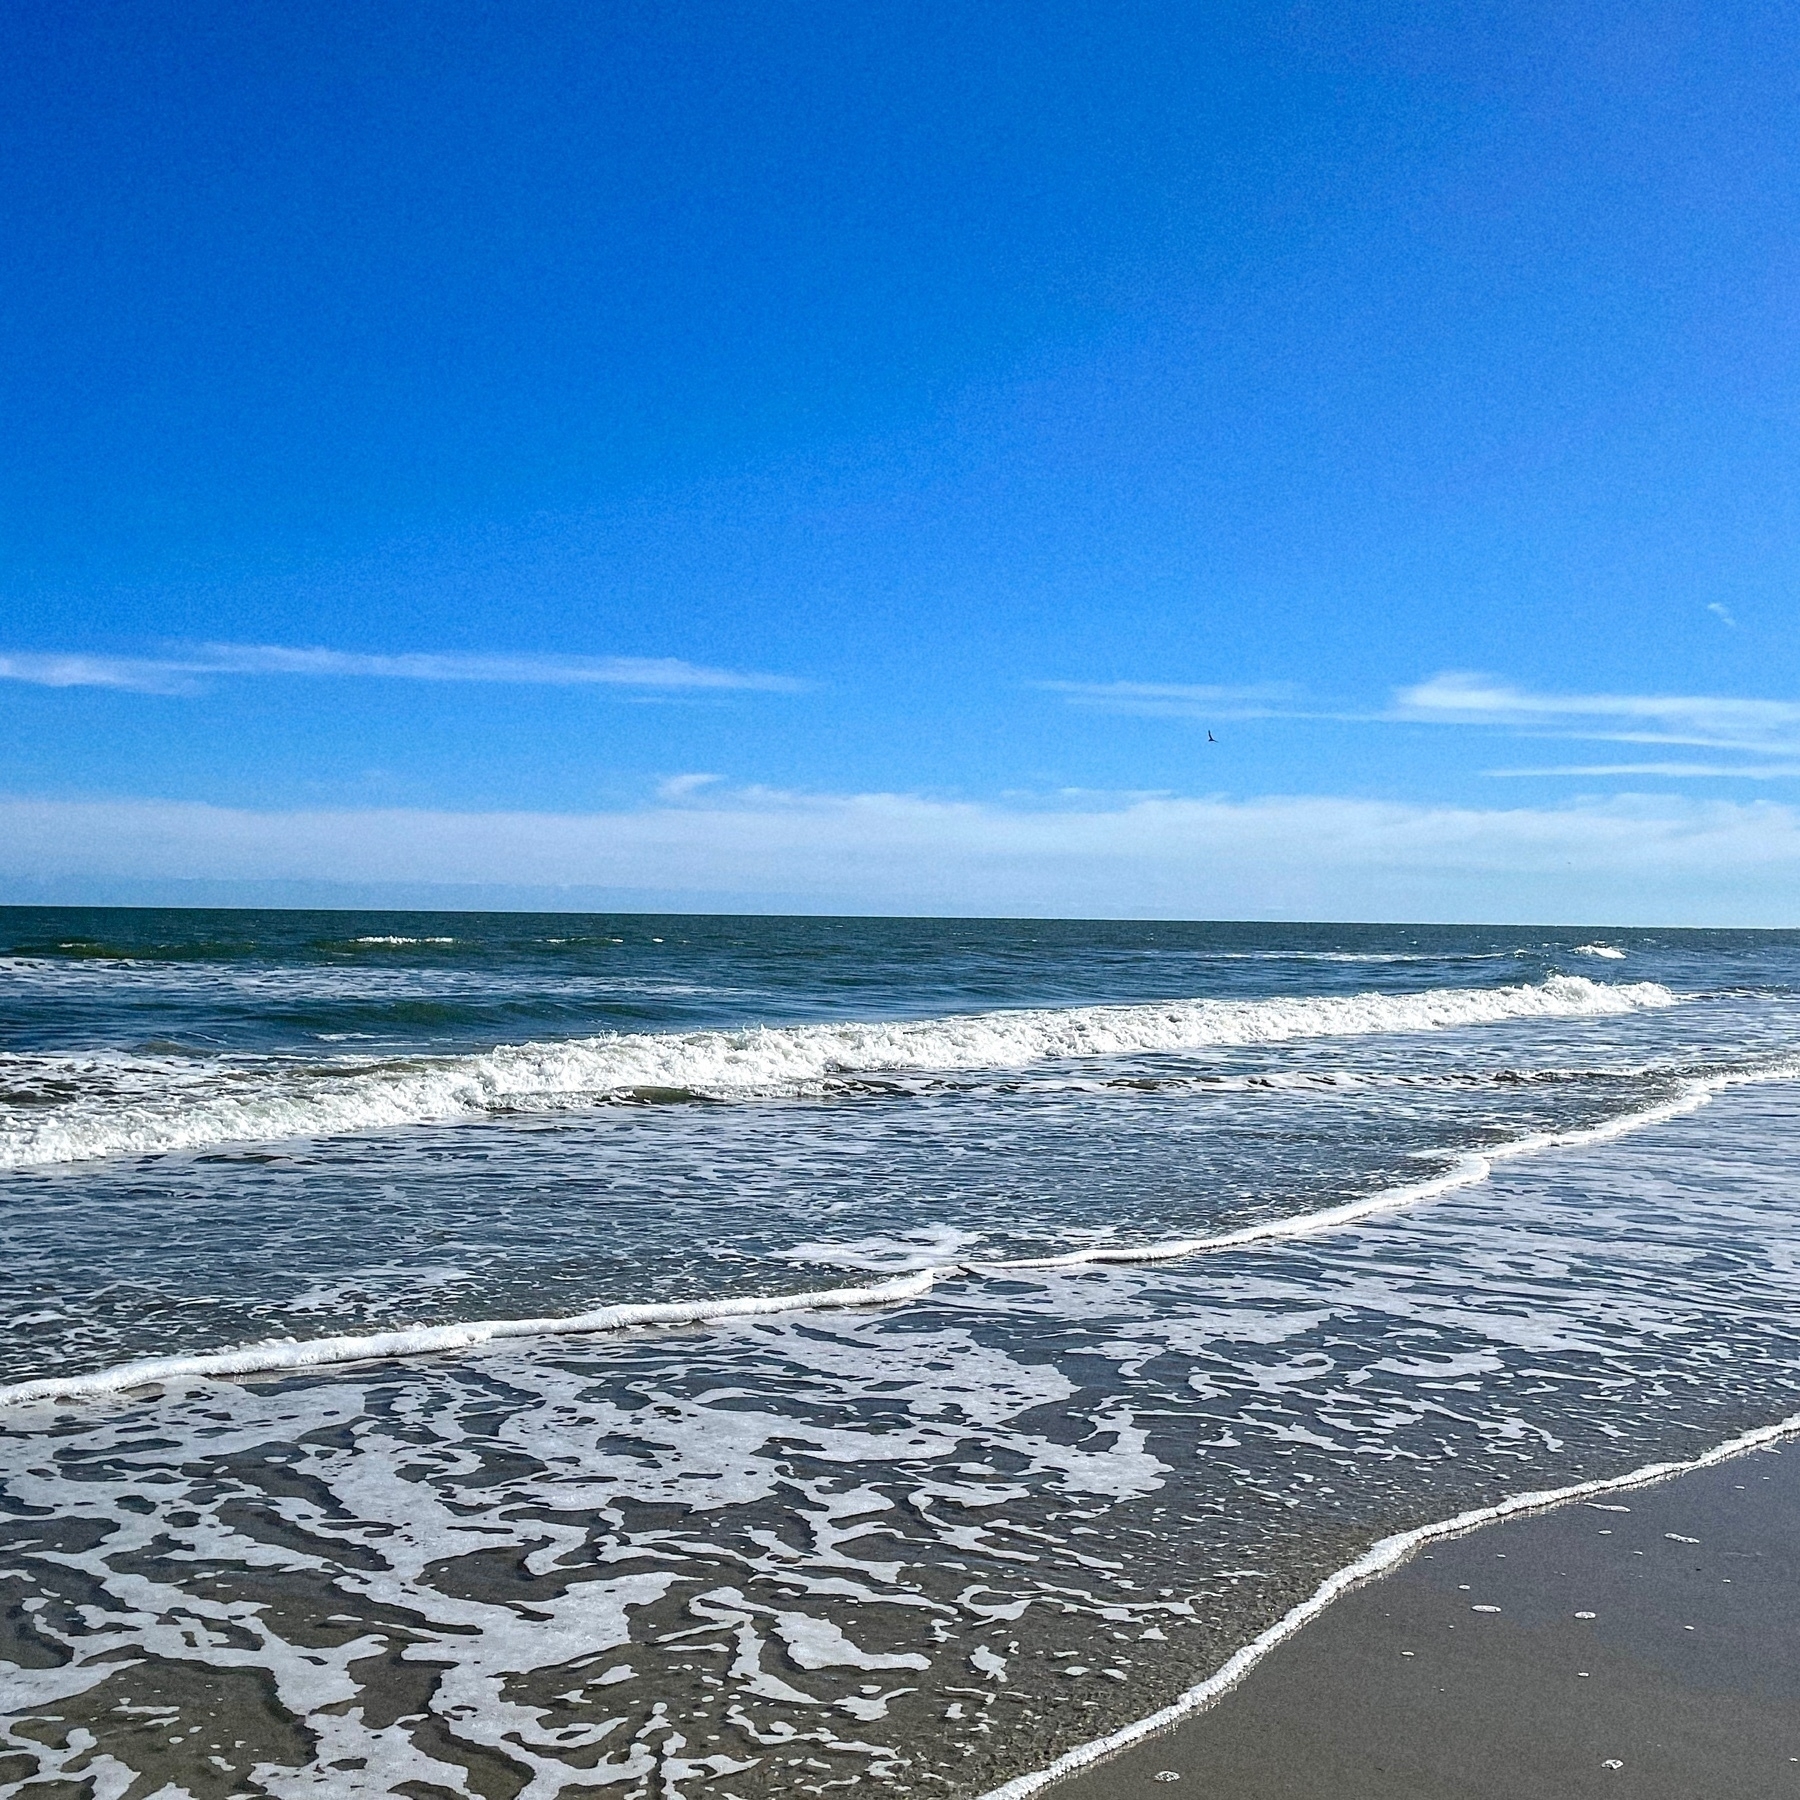
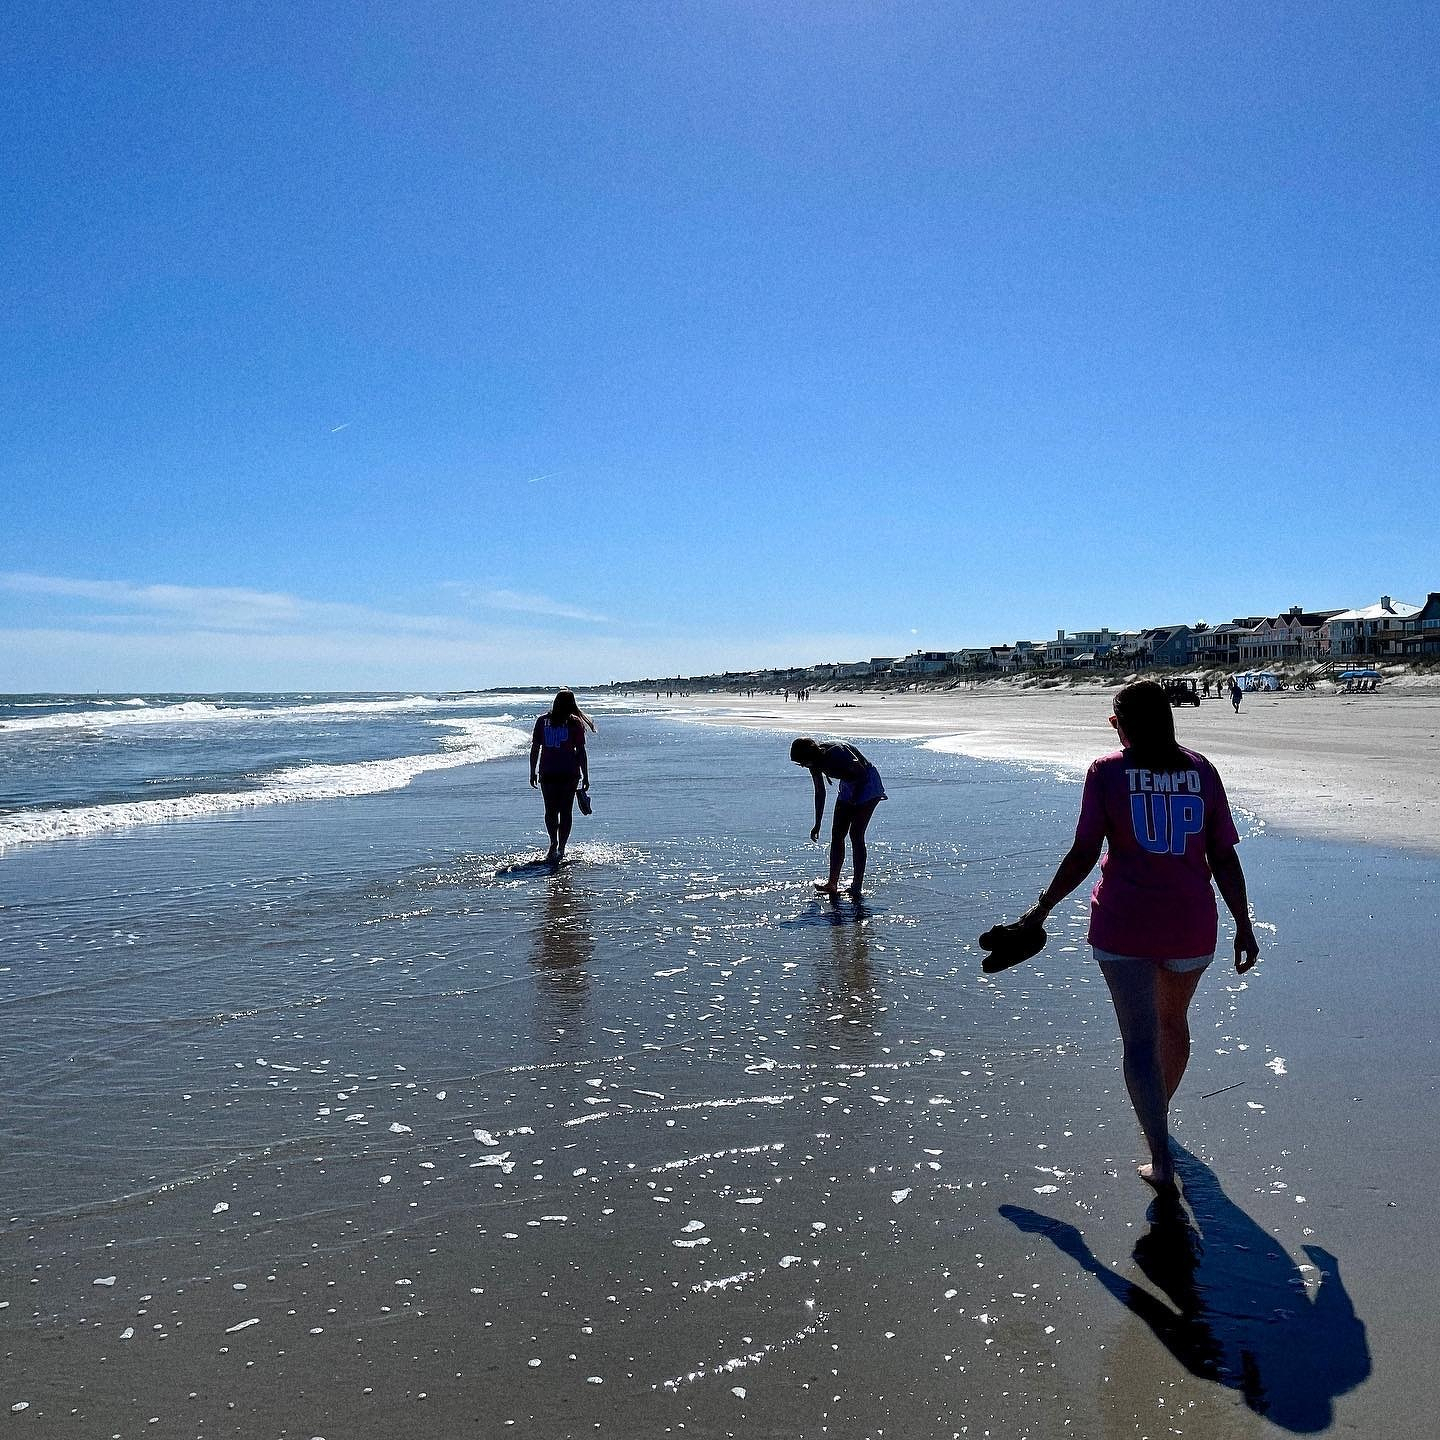
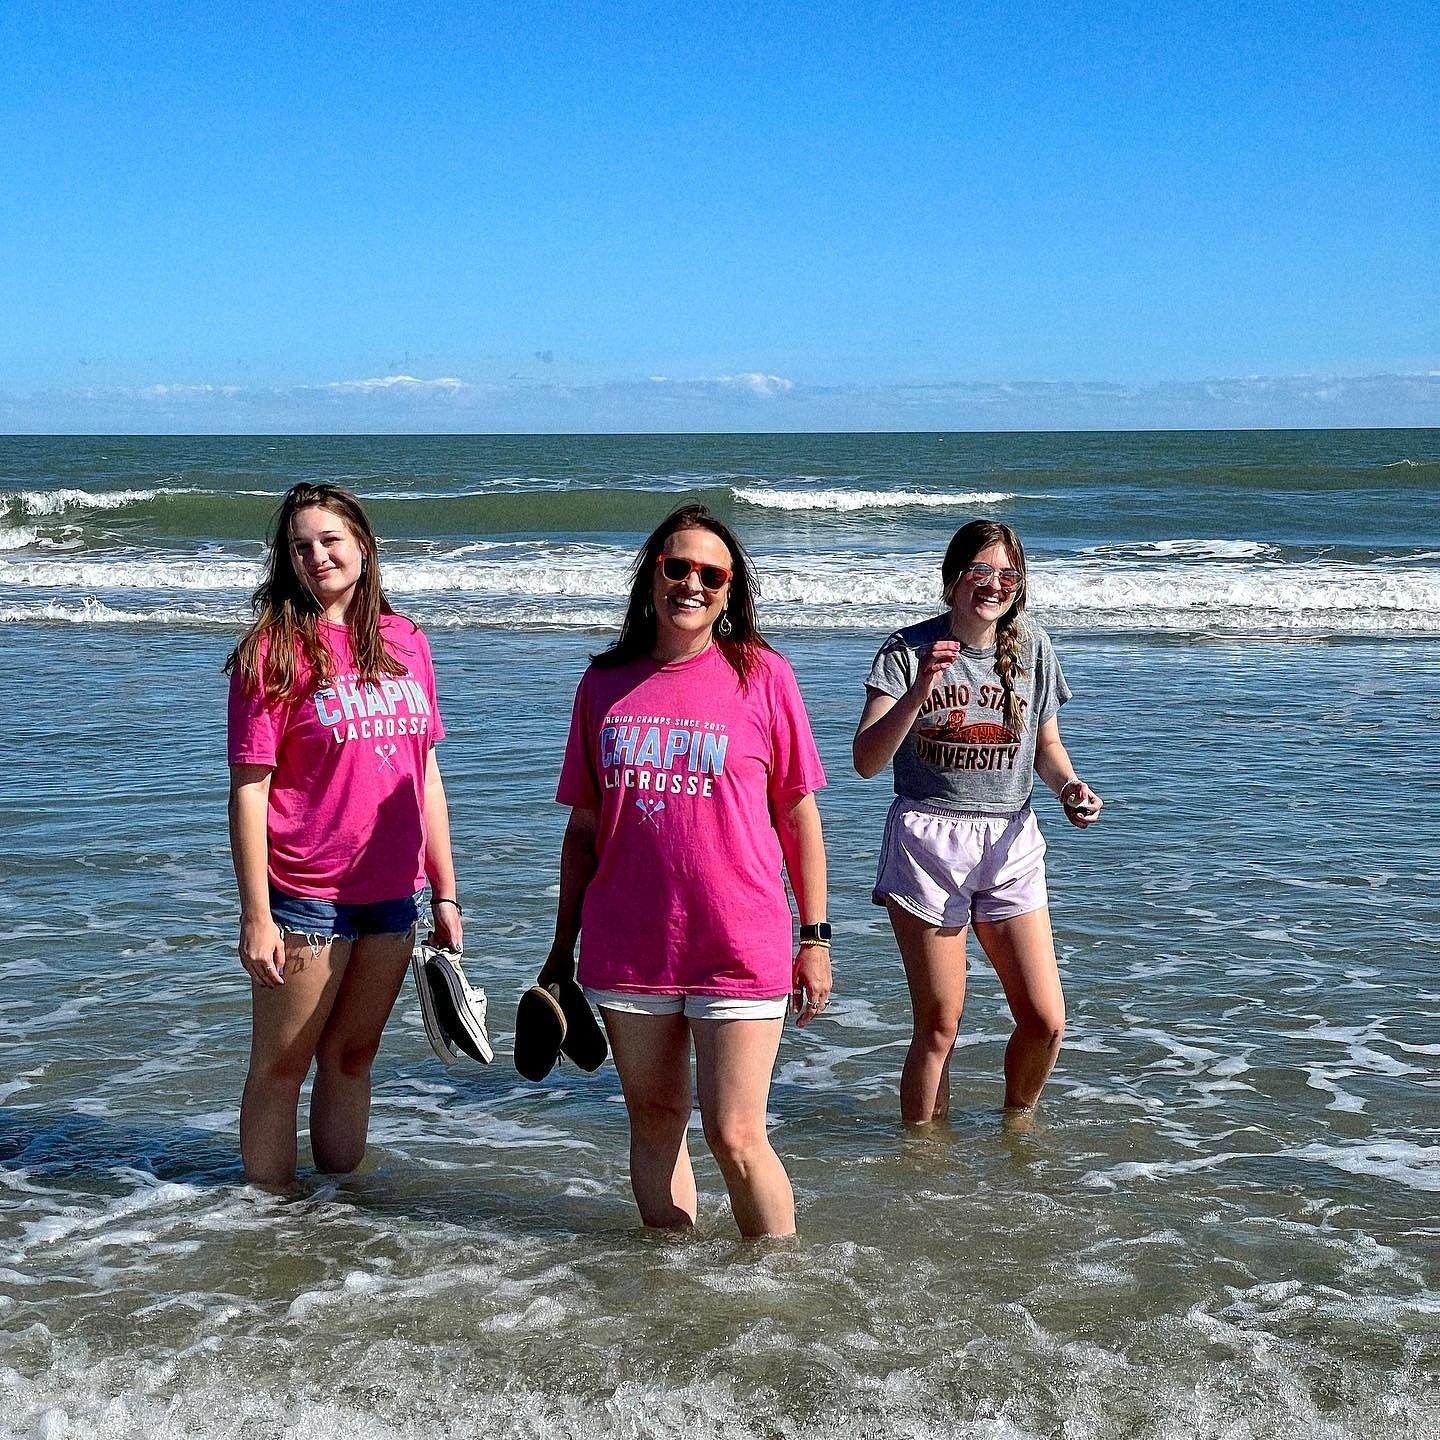
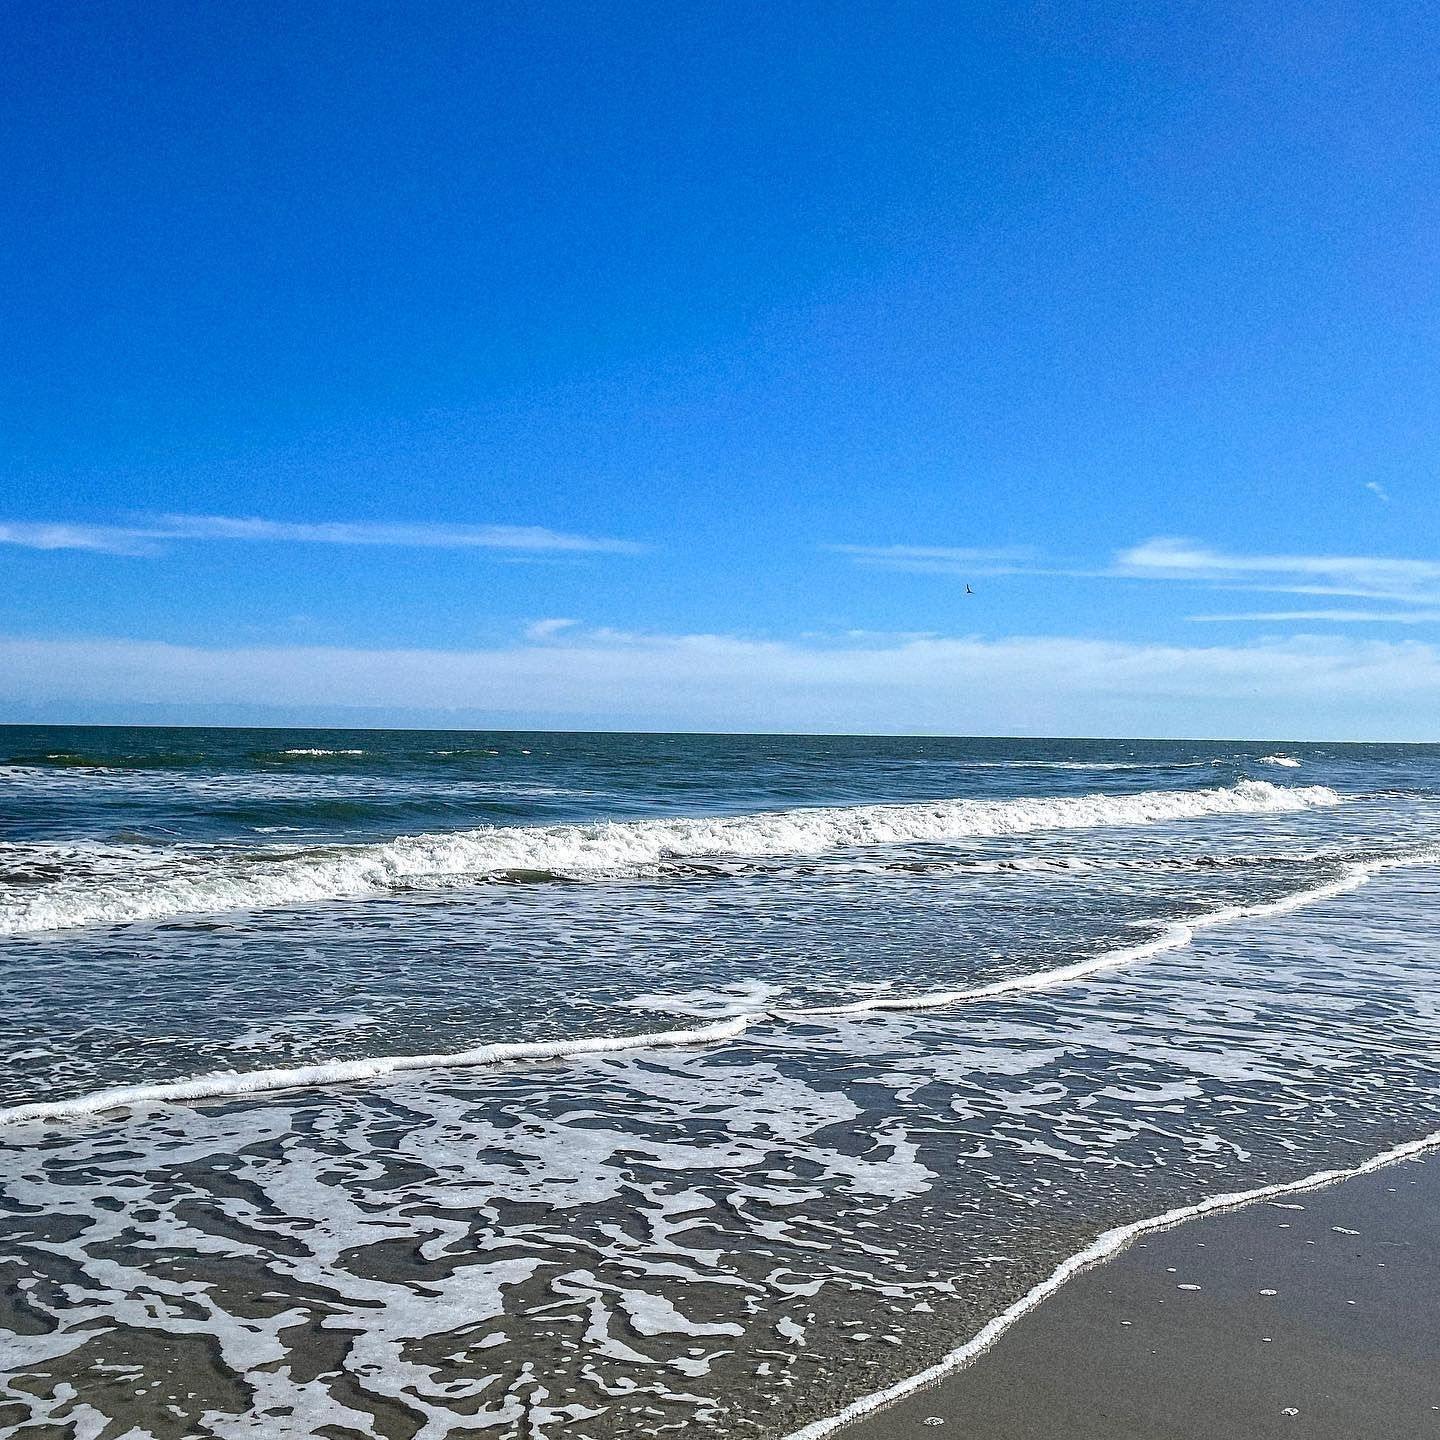
Made it to the ocean today with a day trip to Isle of Palms in South Carolina. Beautiful weather to walk along the beach and gather shells.


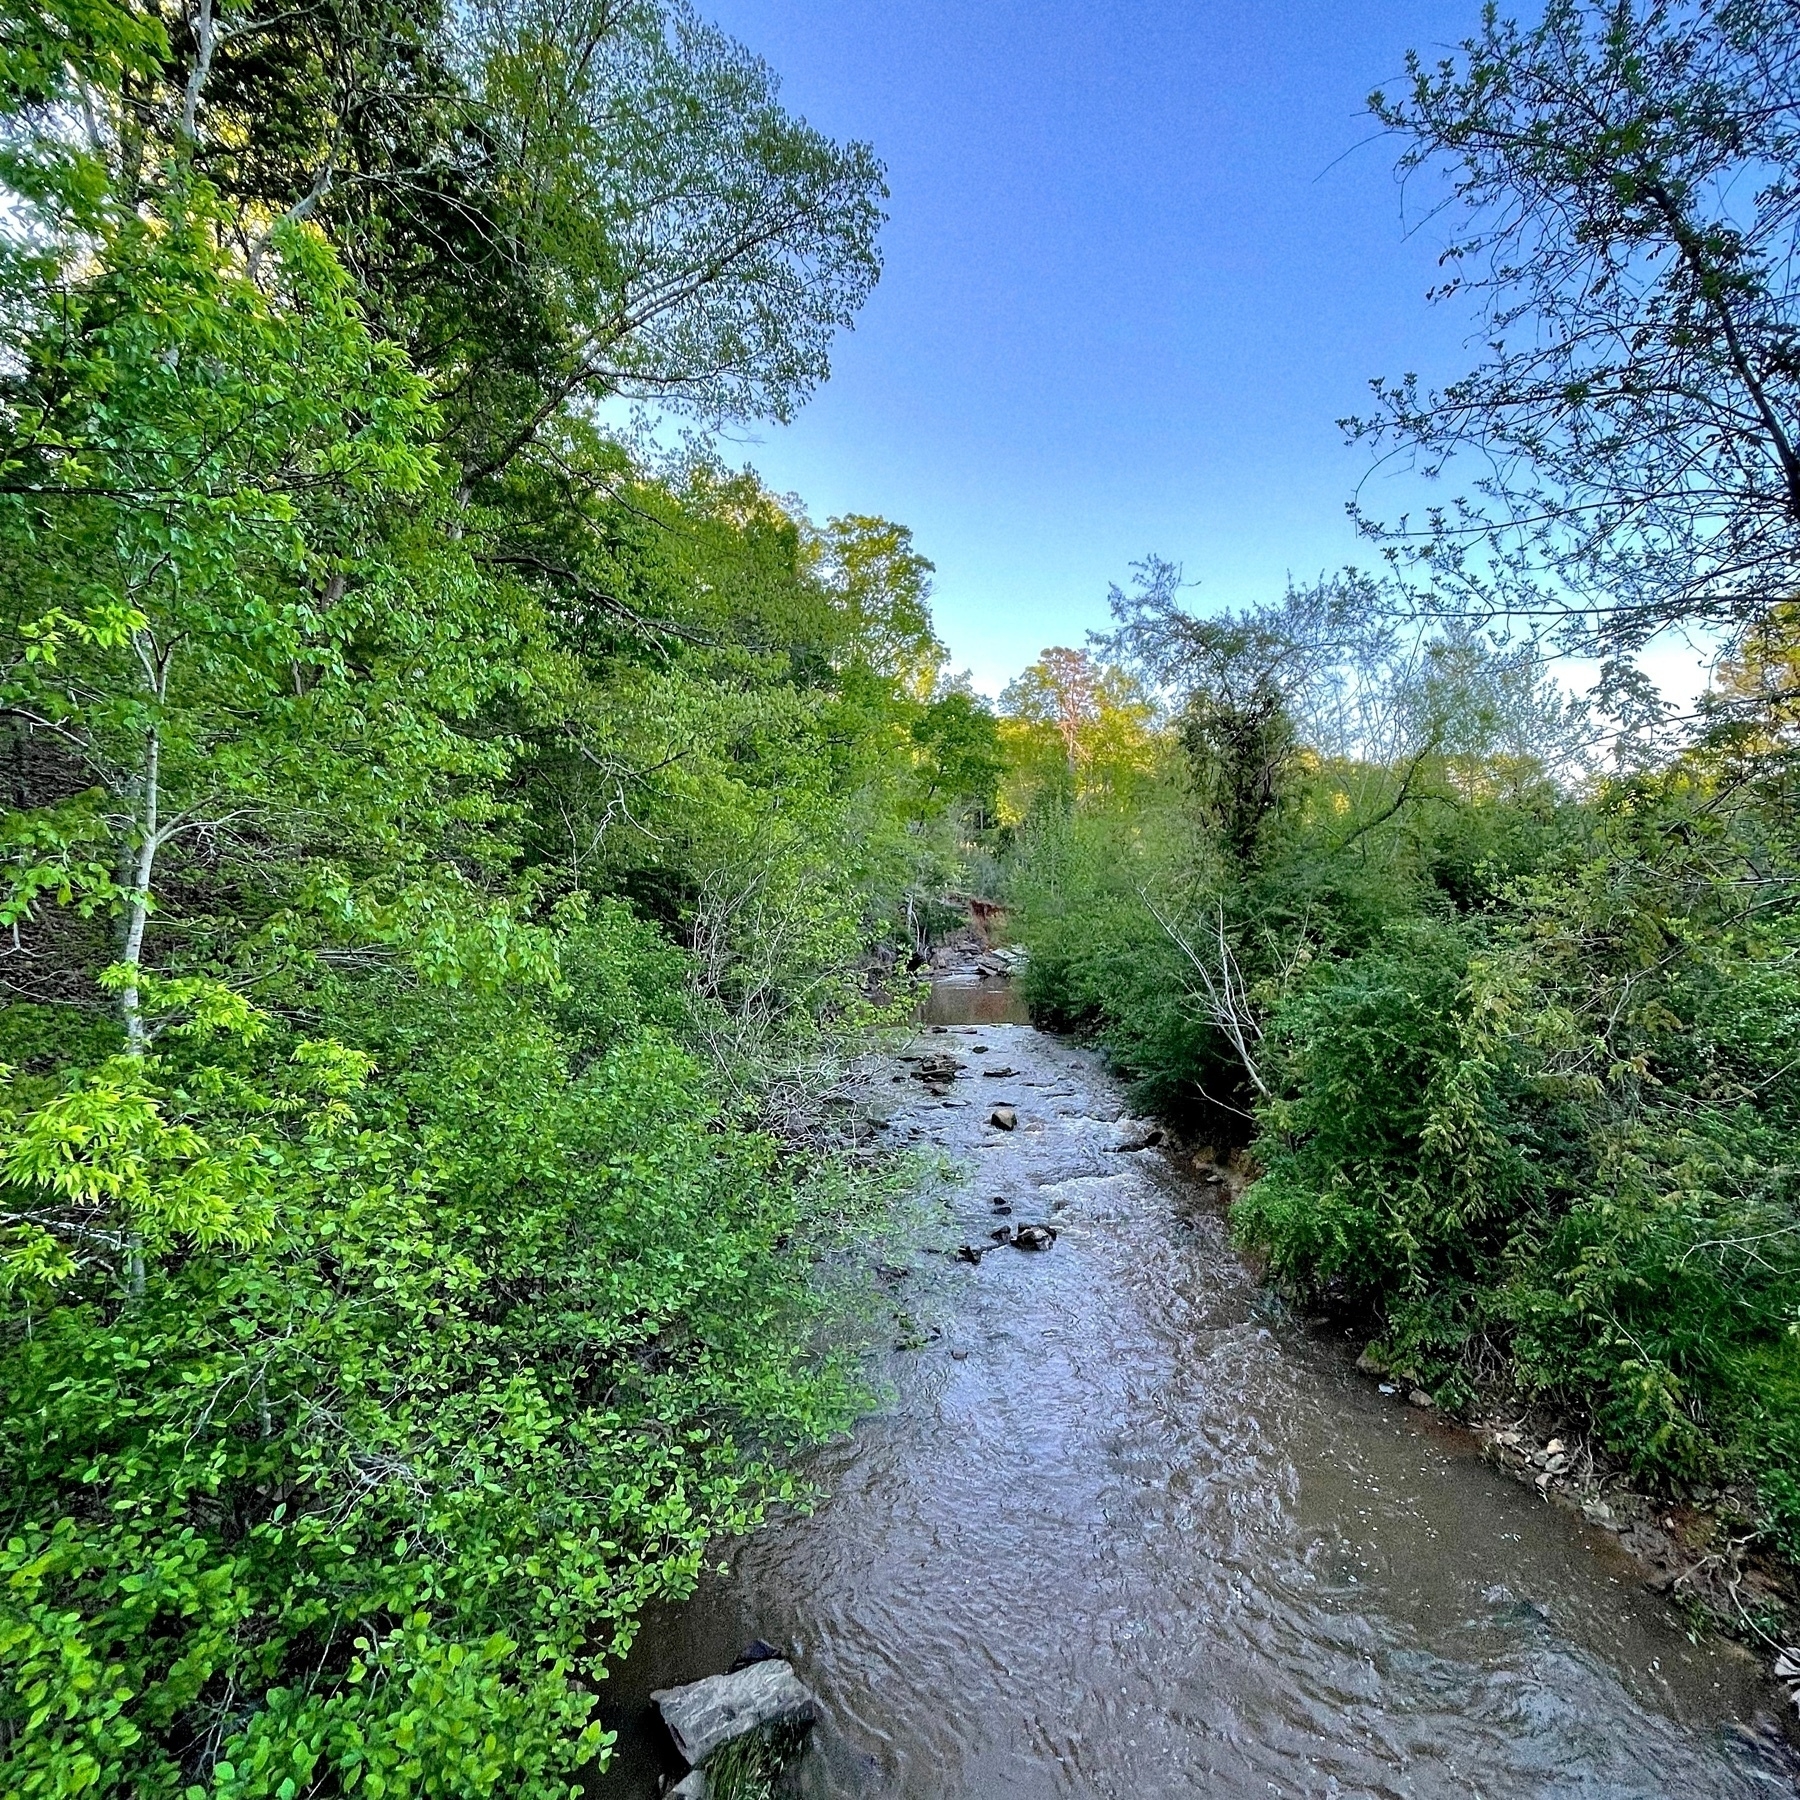
Liz and I took a walk around the trails behind our house after hosting Easter dinner. After a few days of constant rain, it was nice to see the sun.
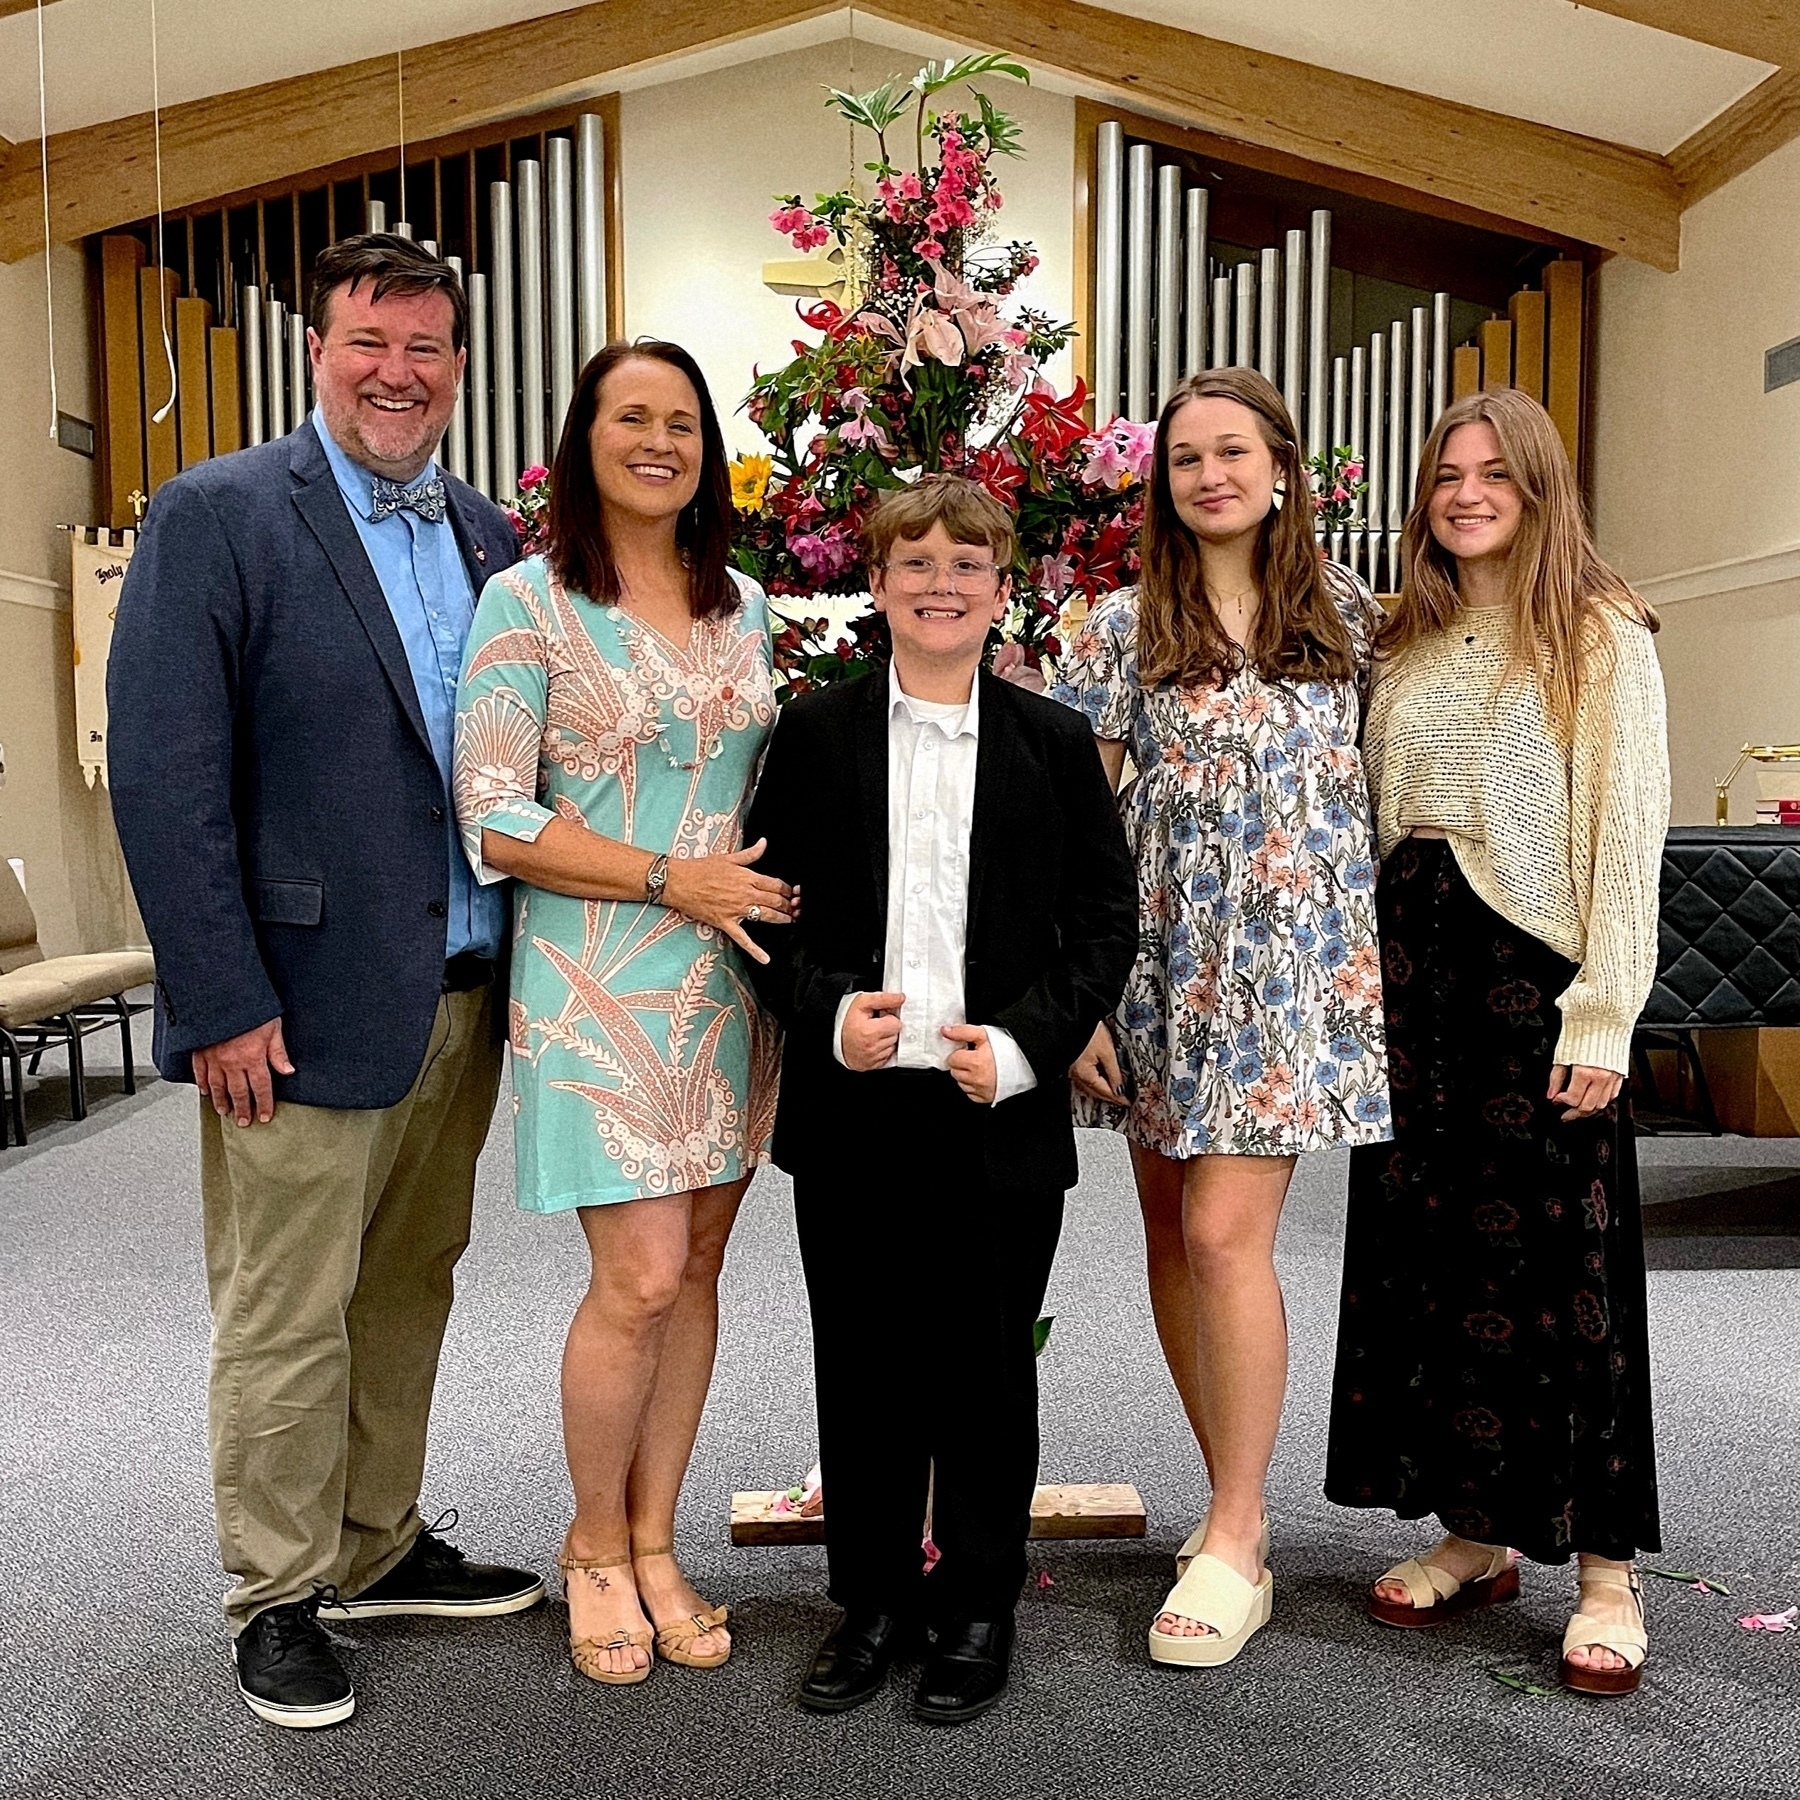
Happy Easter from Team Wertz.
Campus rose garden was beautiful this morning.

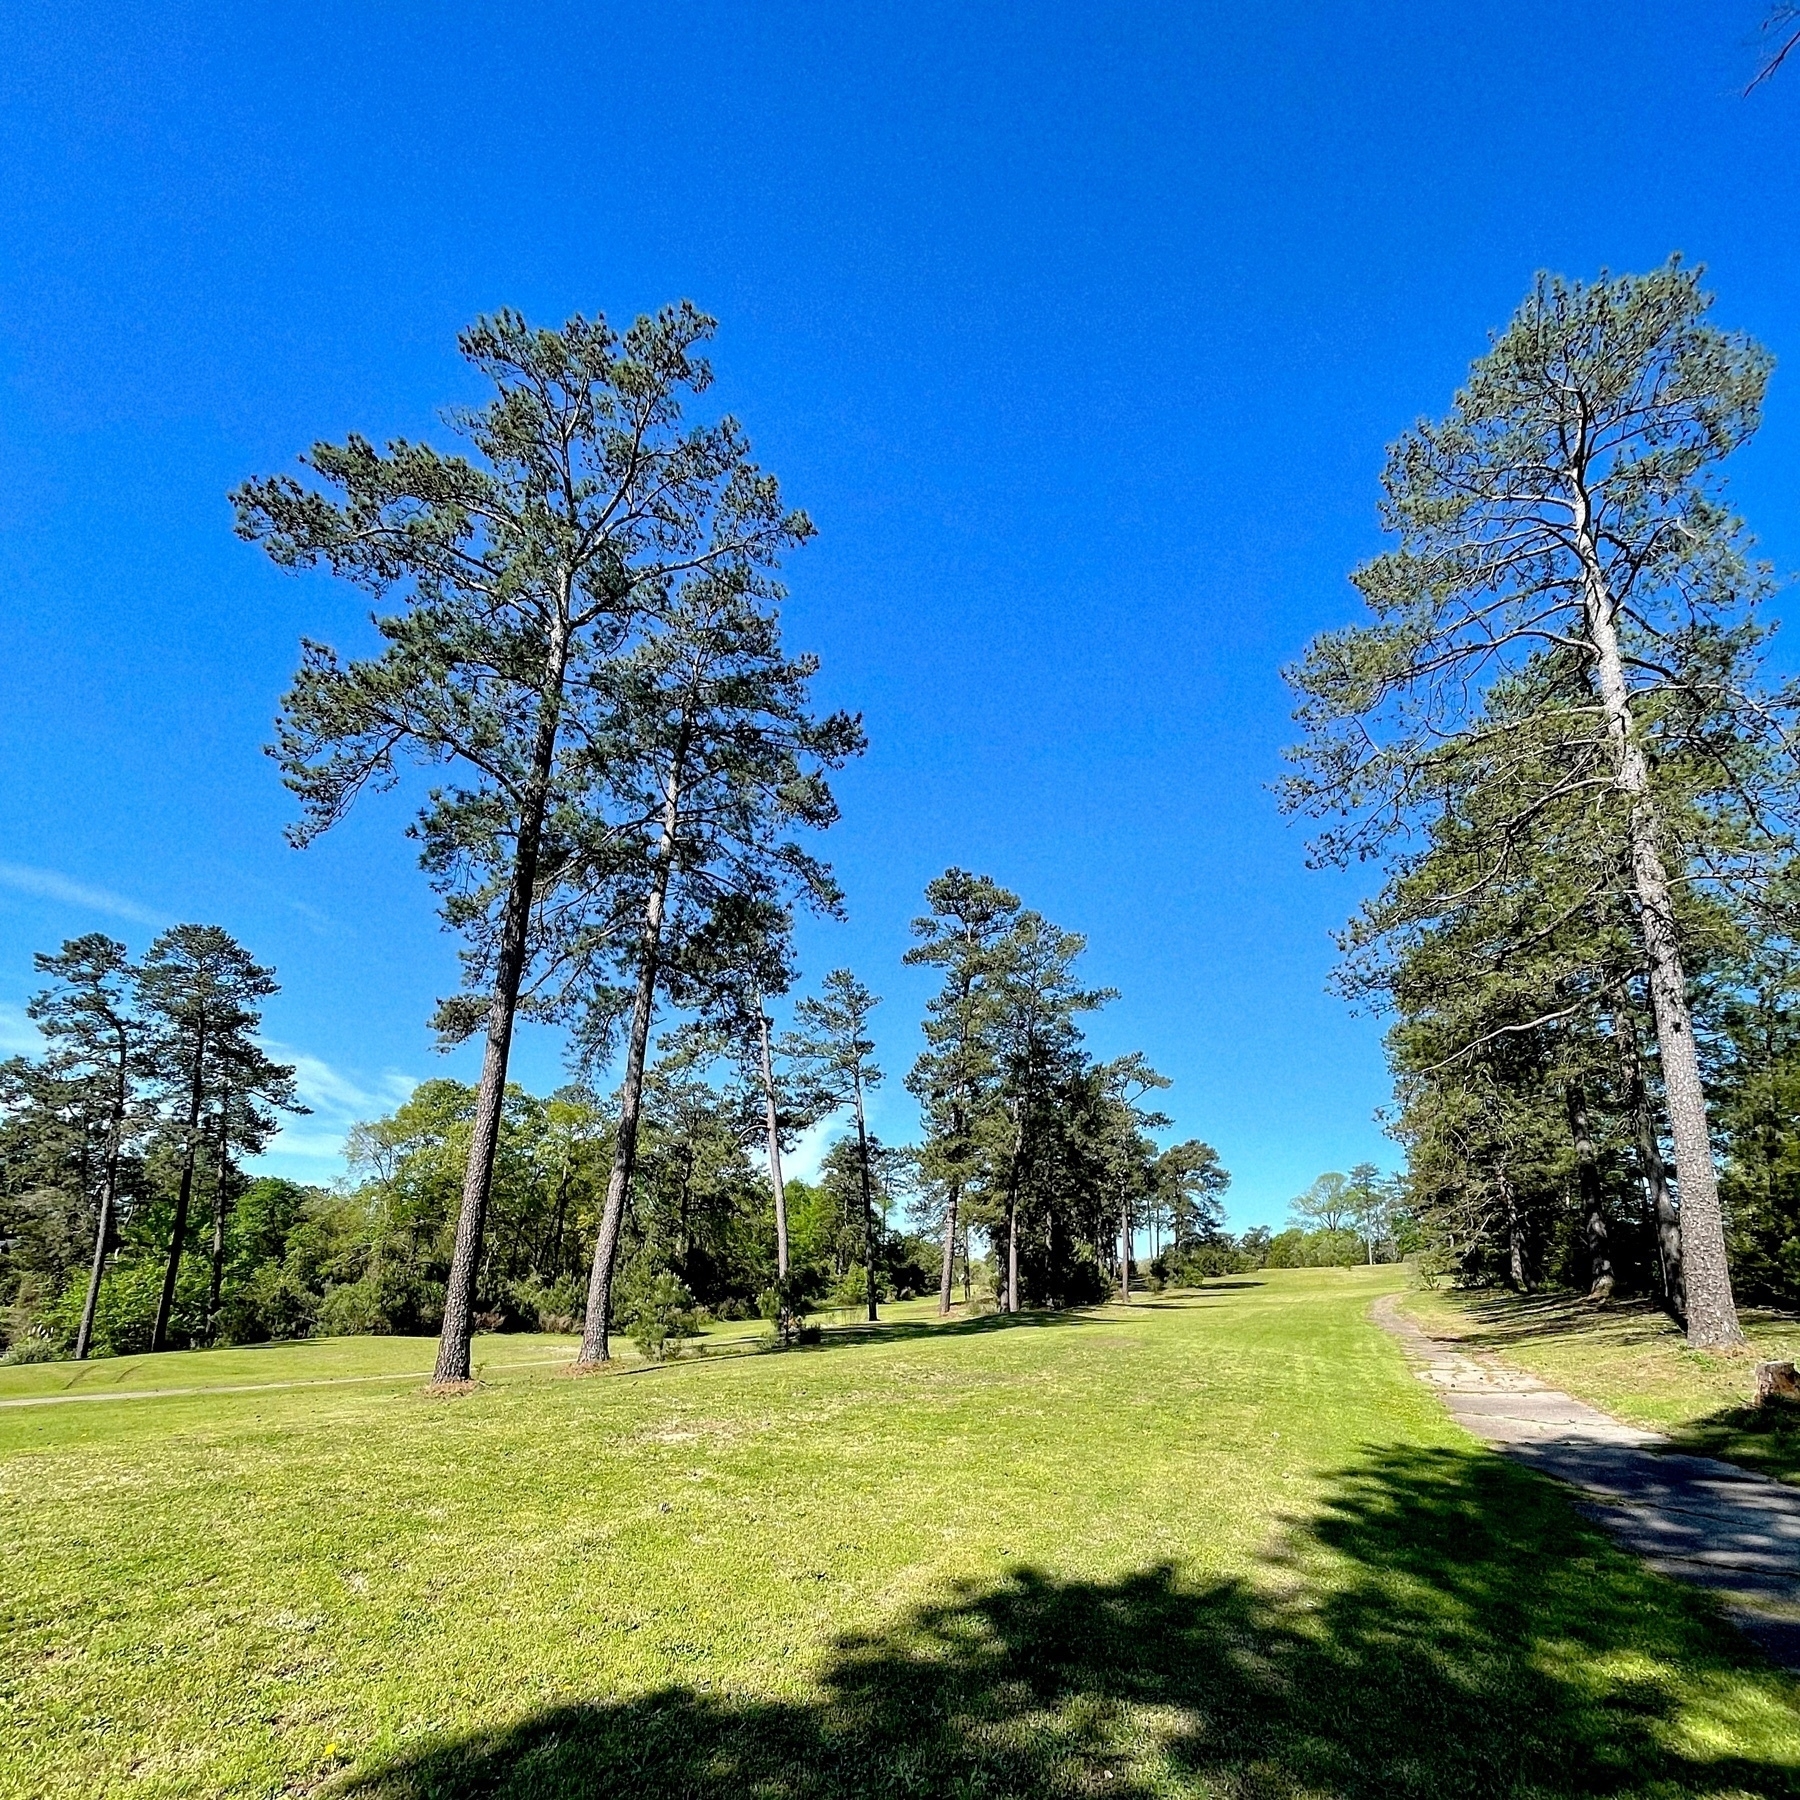
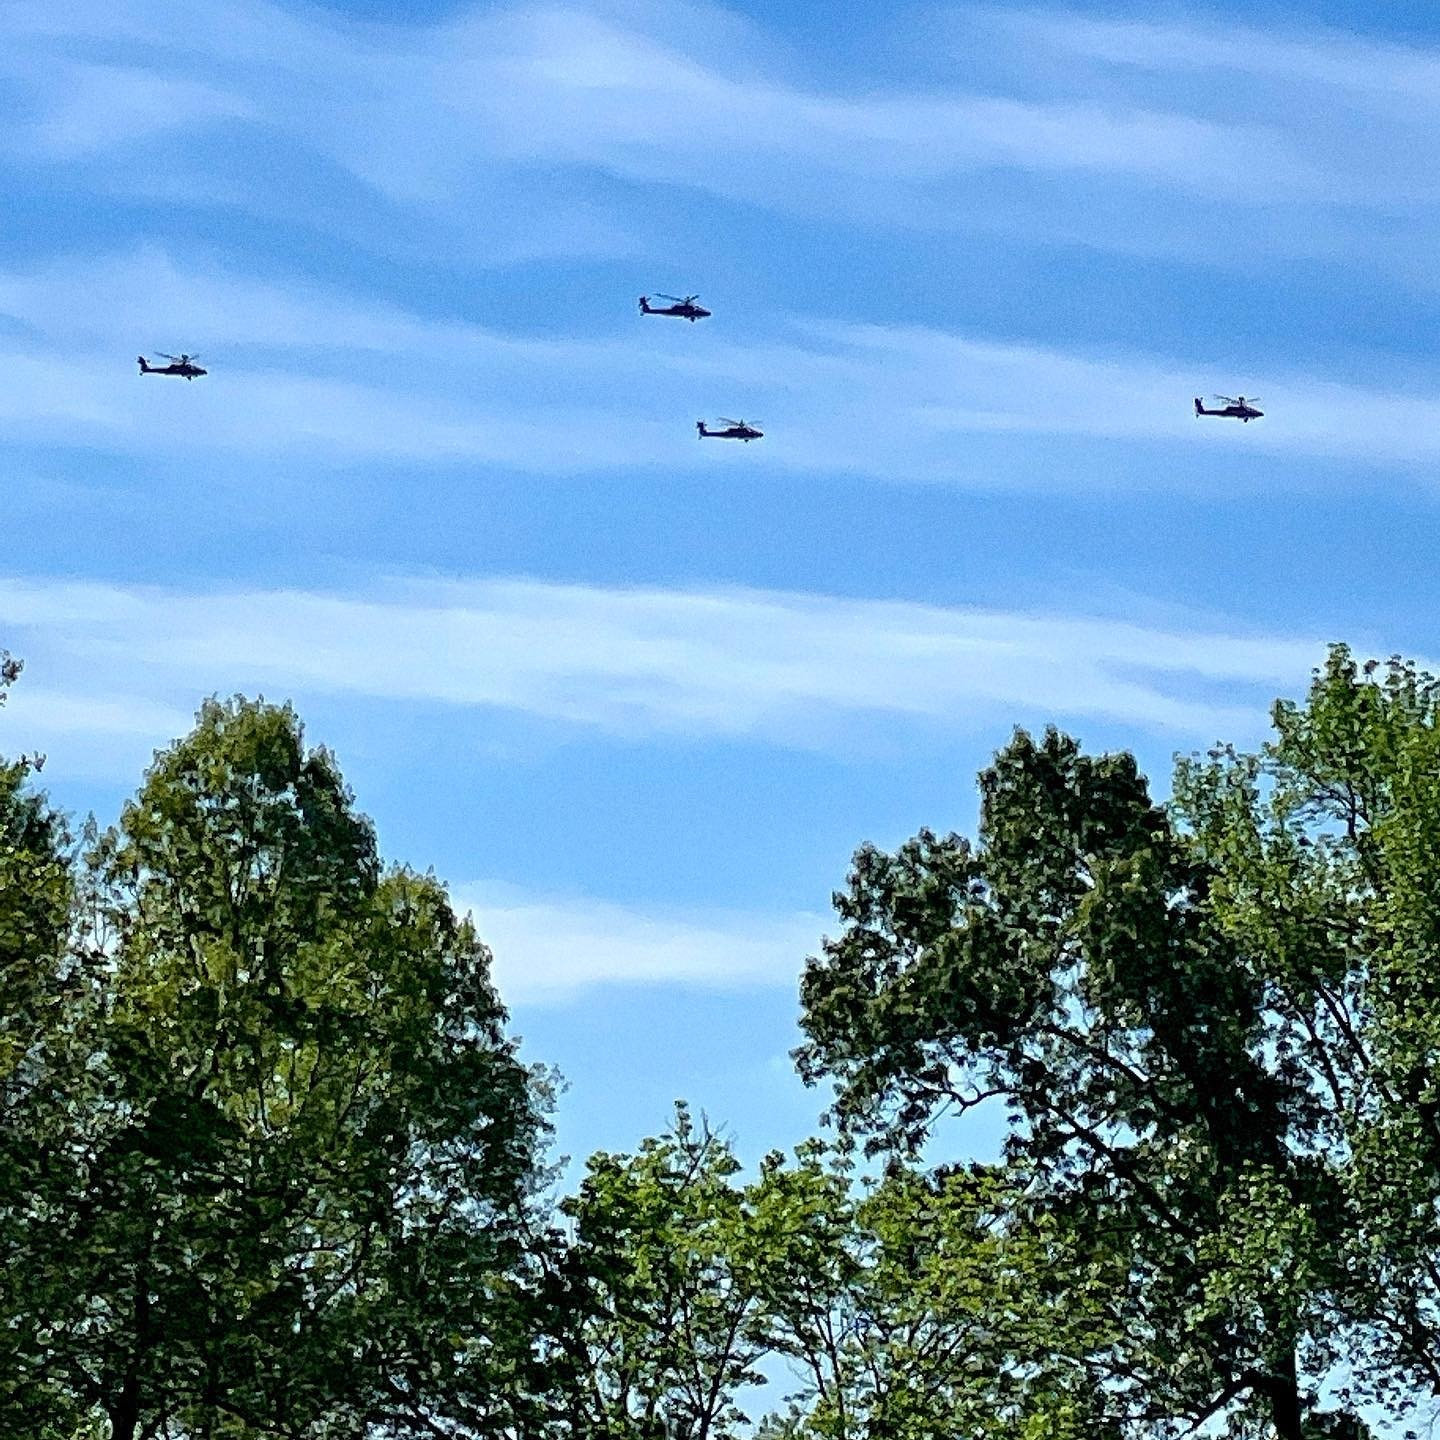
We added another mile of trails to our walk today. Some parts of the old-golf-course-turned-park have been reclaimed by shrubs and trees. Other sections look like you could play a round. Lots of wildlife and wildflowers. And oddly, 24 Apache attack helicopters.
Four of the 24(!) Apache helicopters that flew over during our walk. According to News 19, it’s a S.C. National Guard exercise.
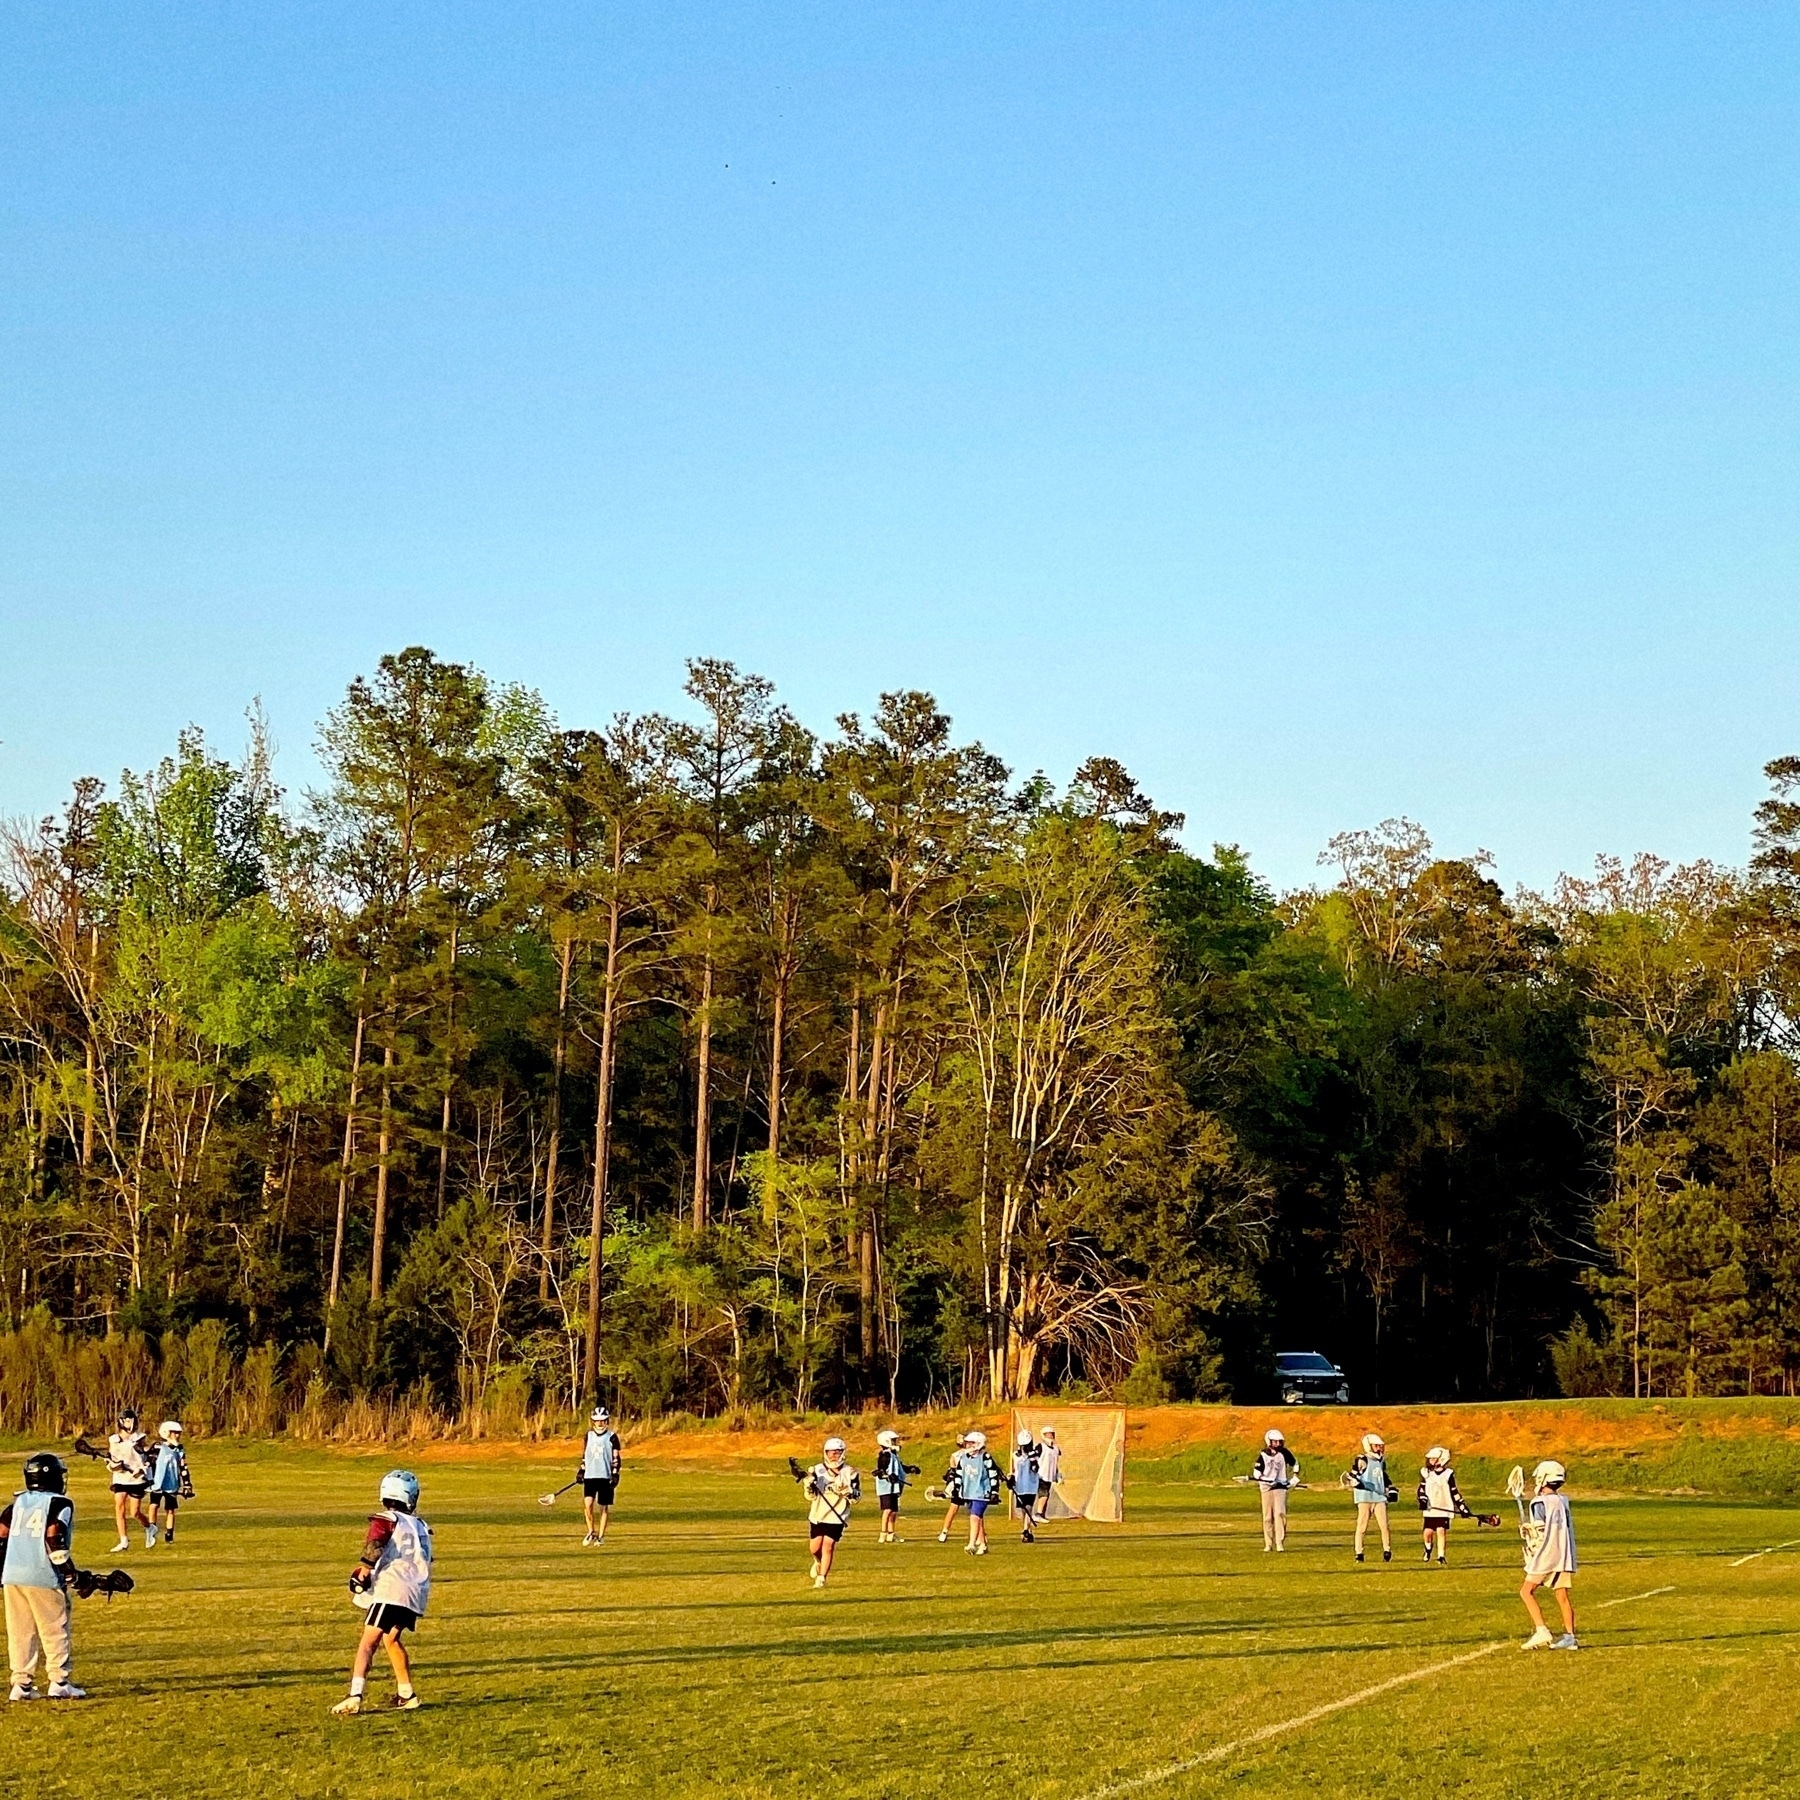
📷 March Photo Challenge #31. Practice. My son at lacrosse practice. (He’s the goalie all the way on the other side of the field.) Columbia, SC.
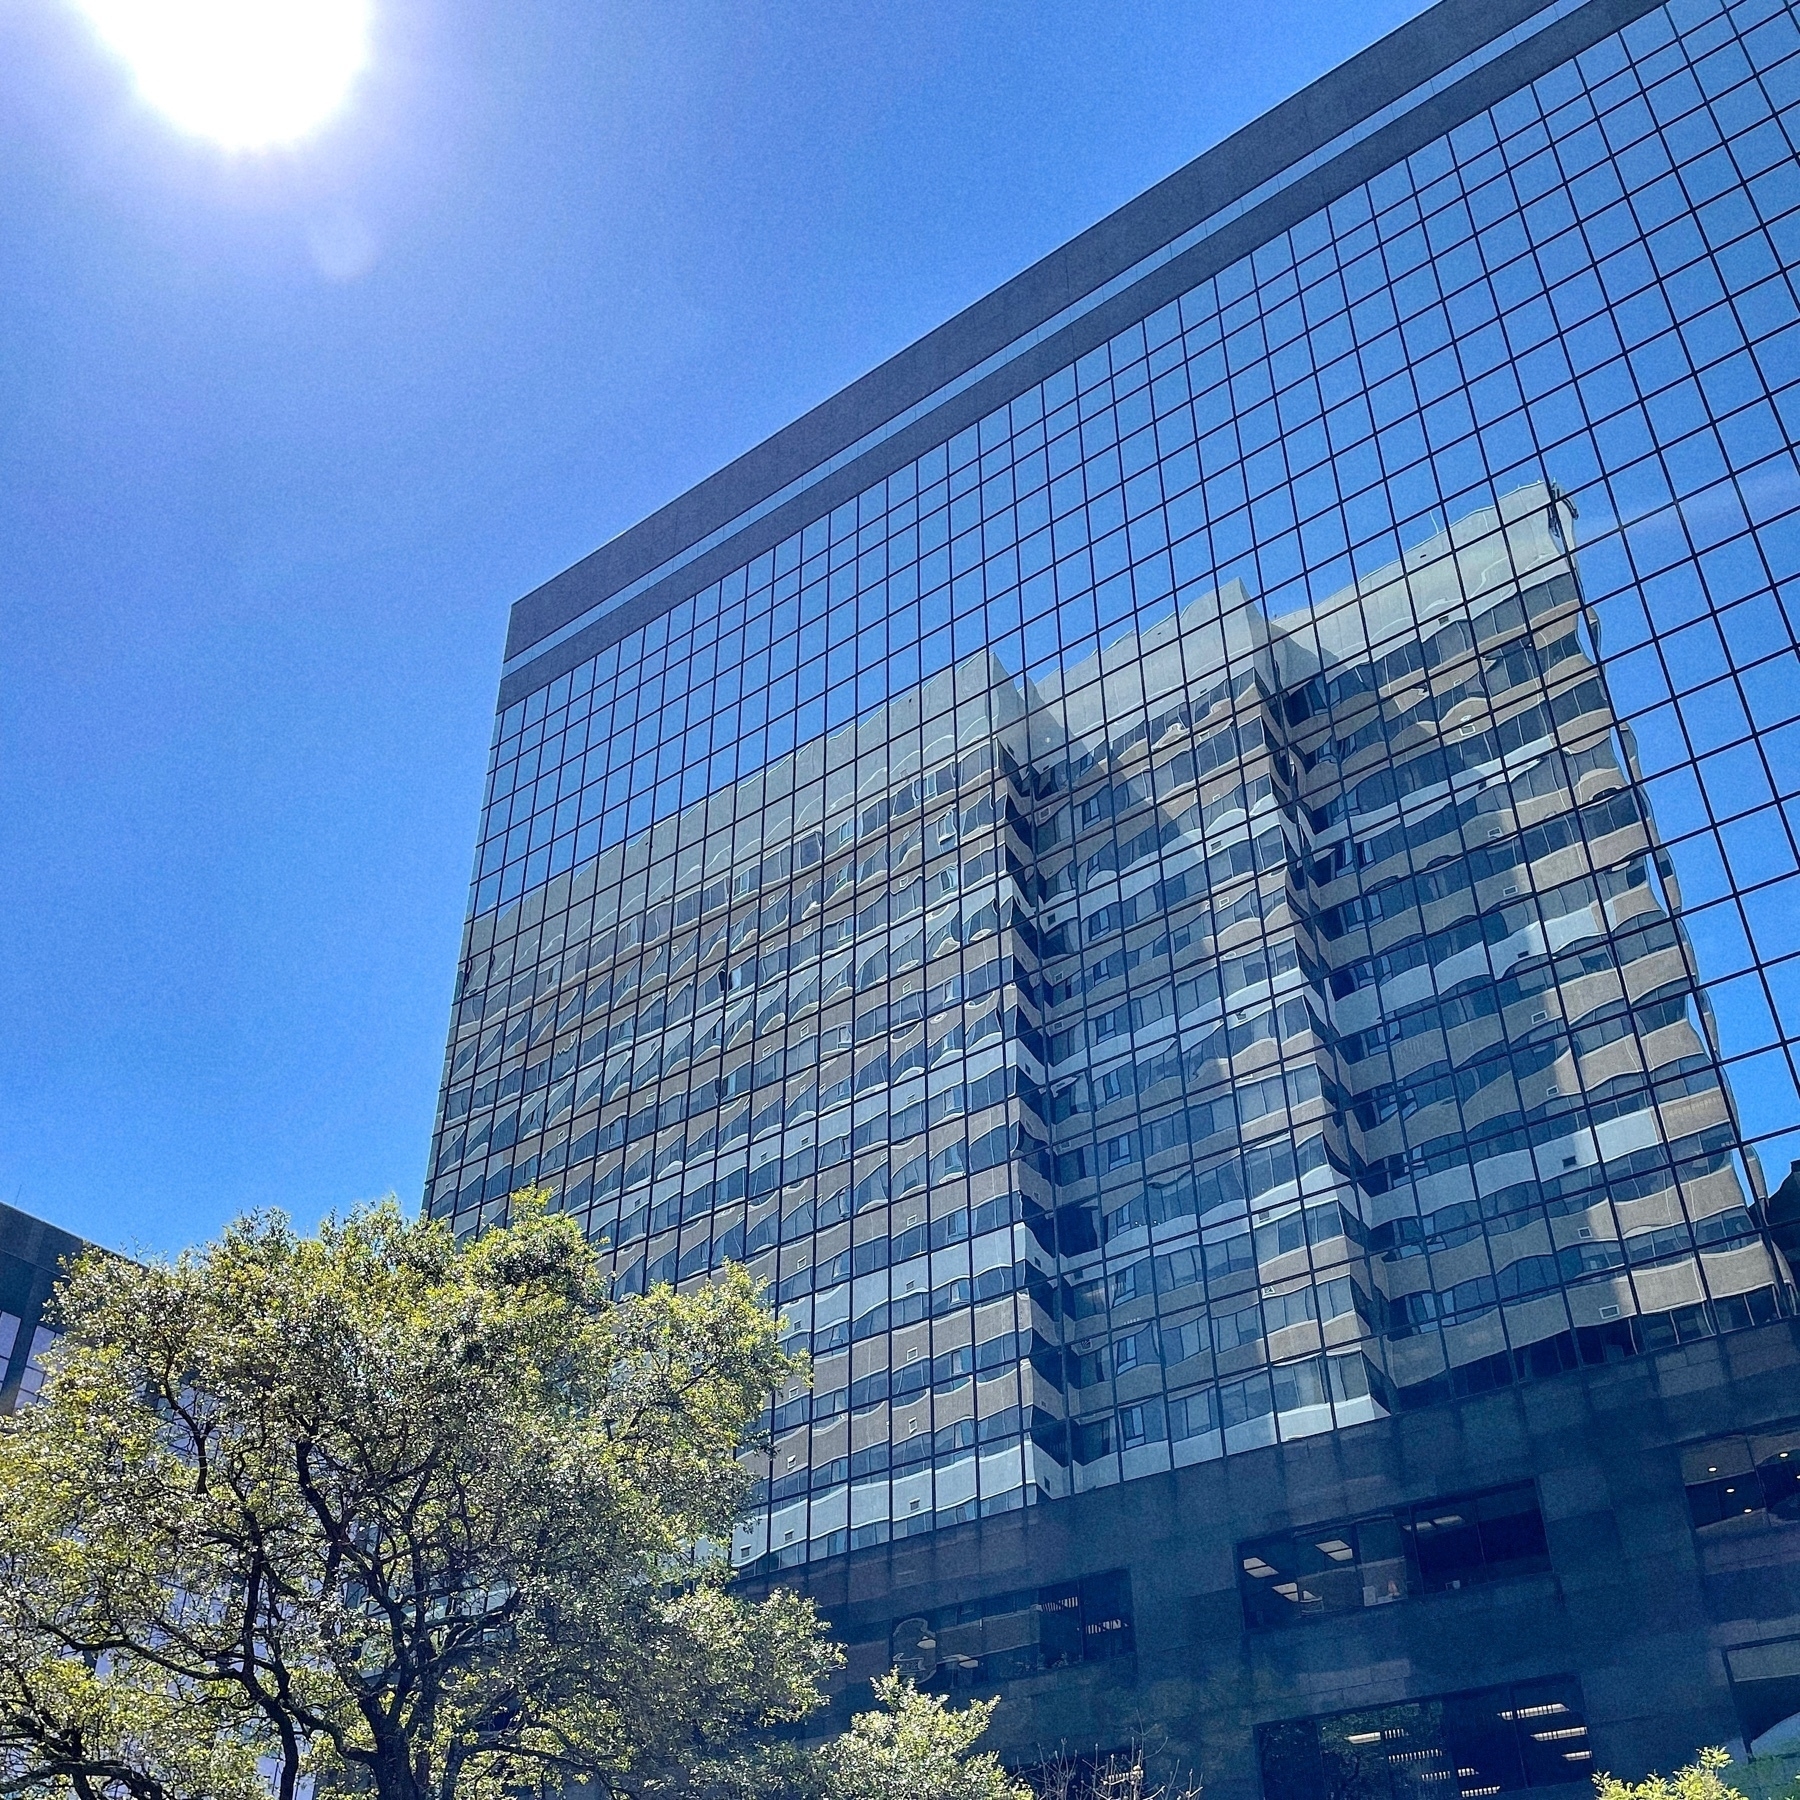
📷 March Photo Challenge #30. Mirror. Buildings reflected on Main. Columbia, SC.
📷 March Photo Challenge #29. Slice. Or rather, slices of bacon. Love having breakfast for dinner. Columbia, SC.

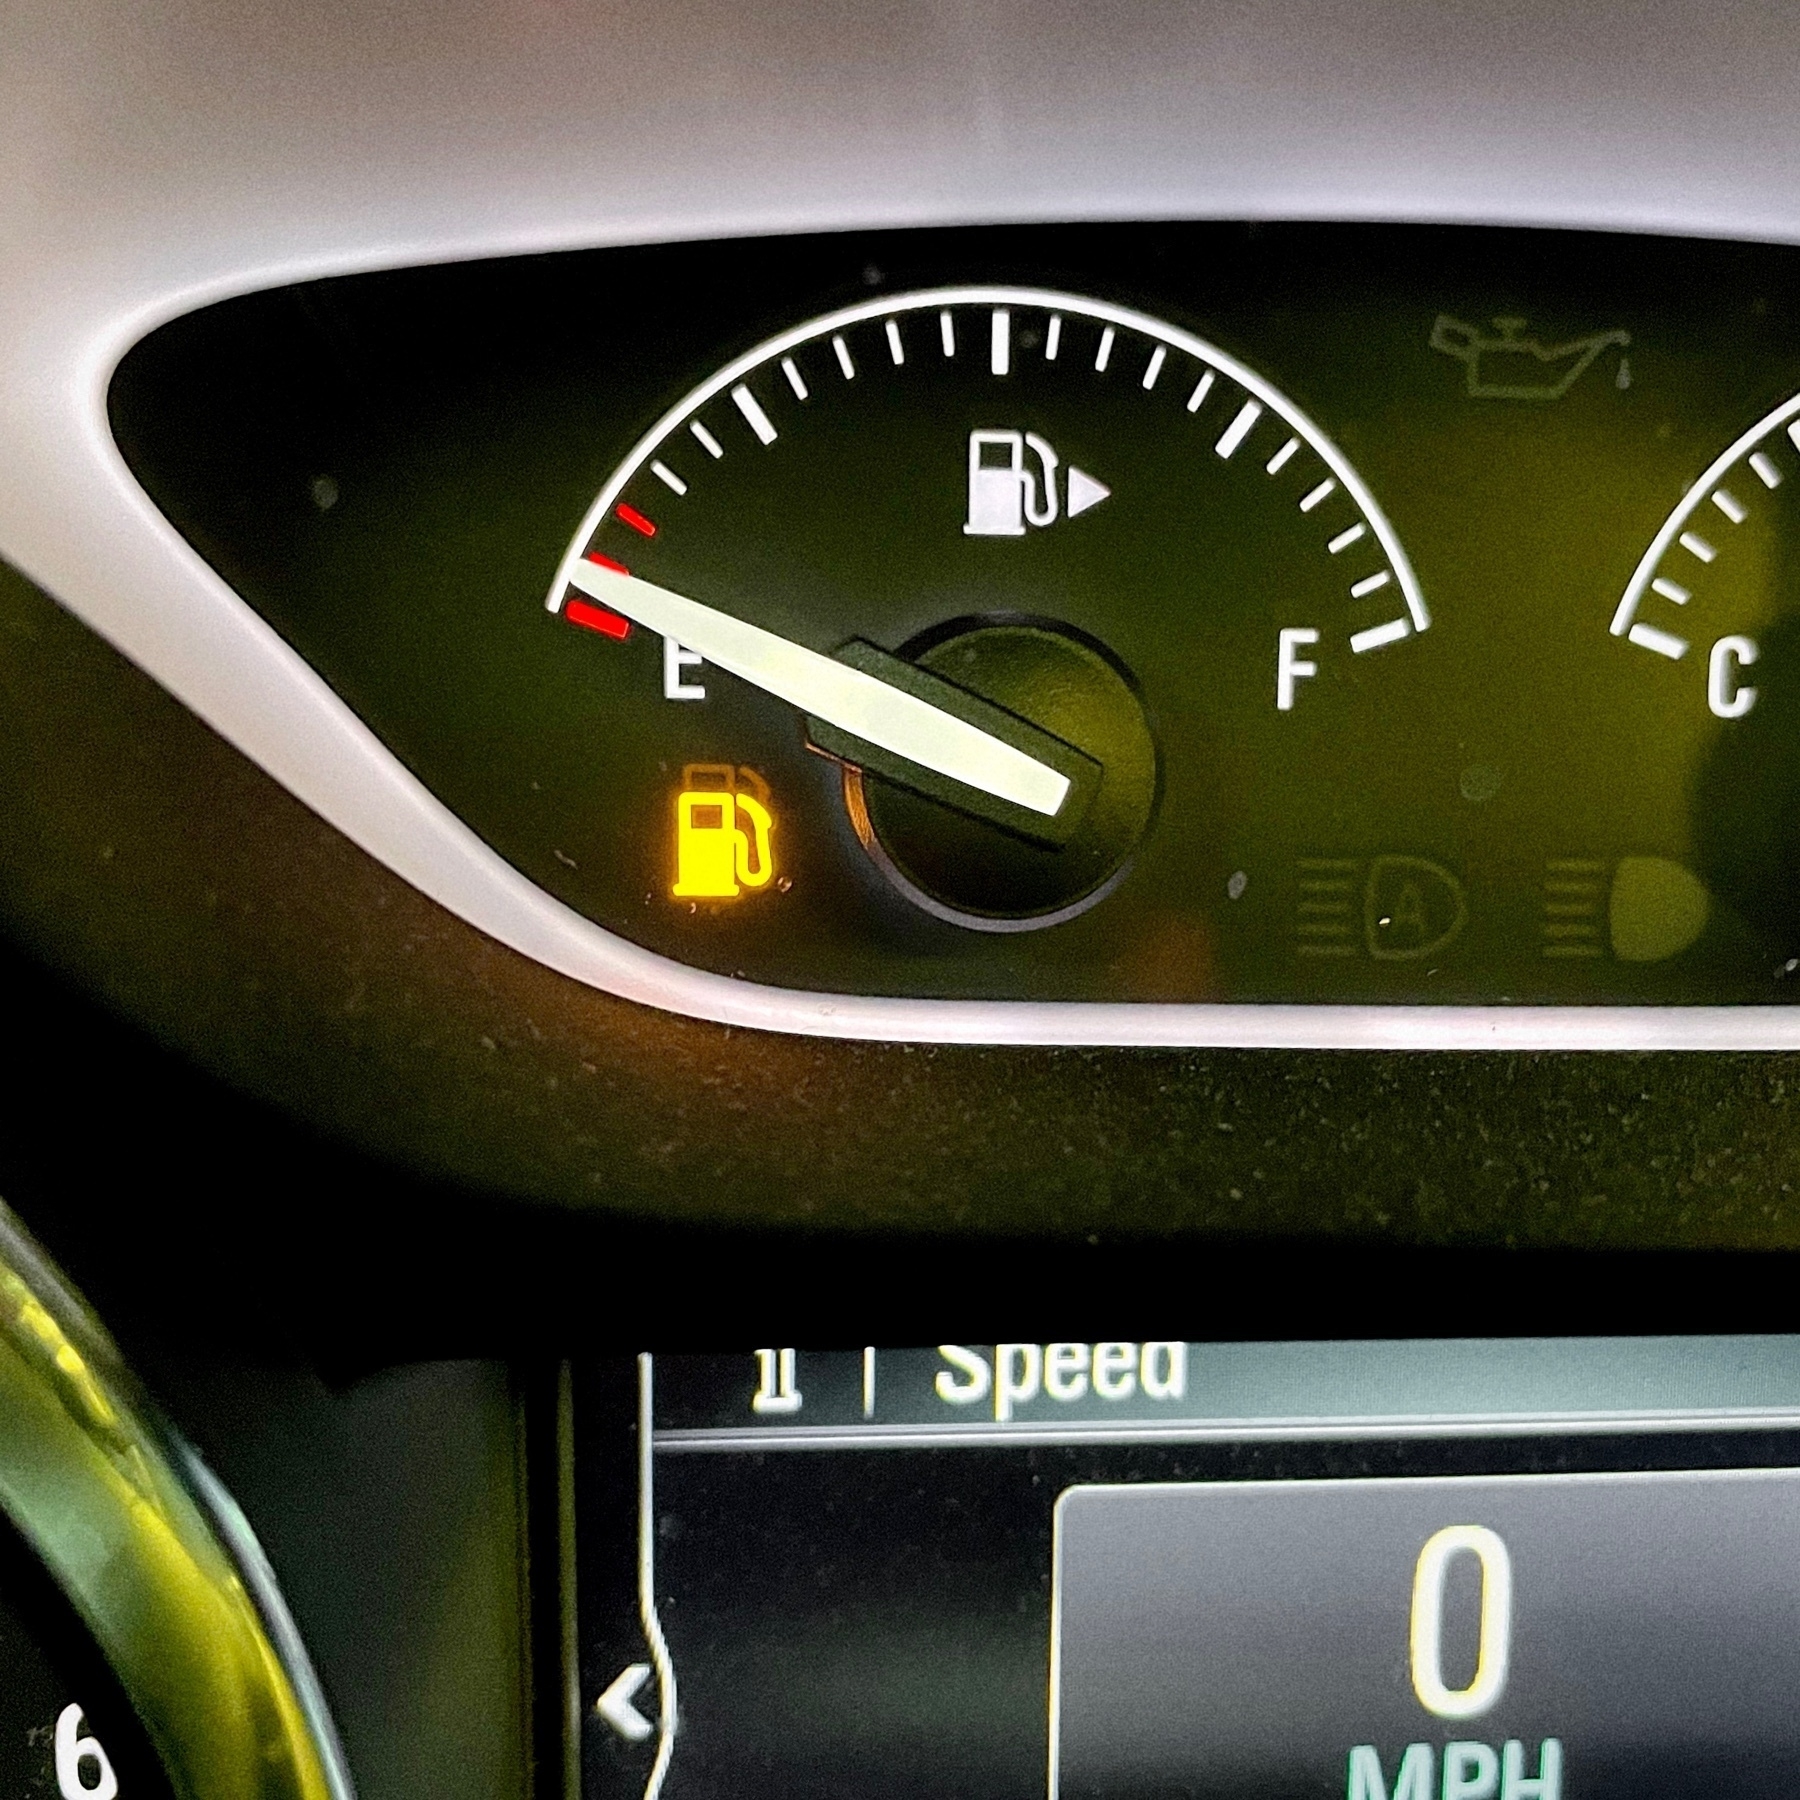
📷 March Photo Challenge #28. Prompt. My car is prompting me to get gas. Columbia, SC.
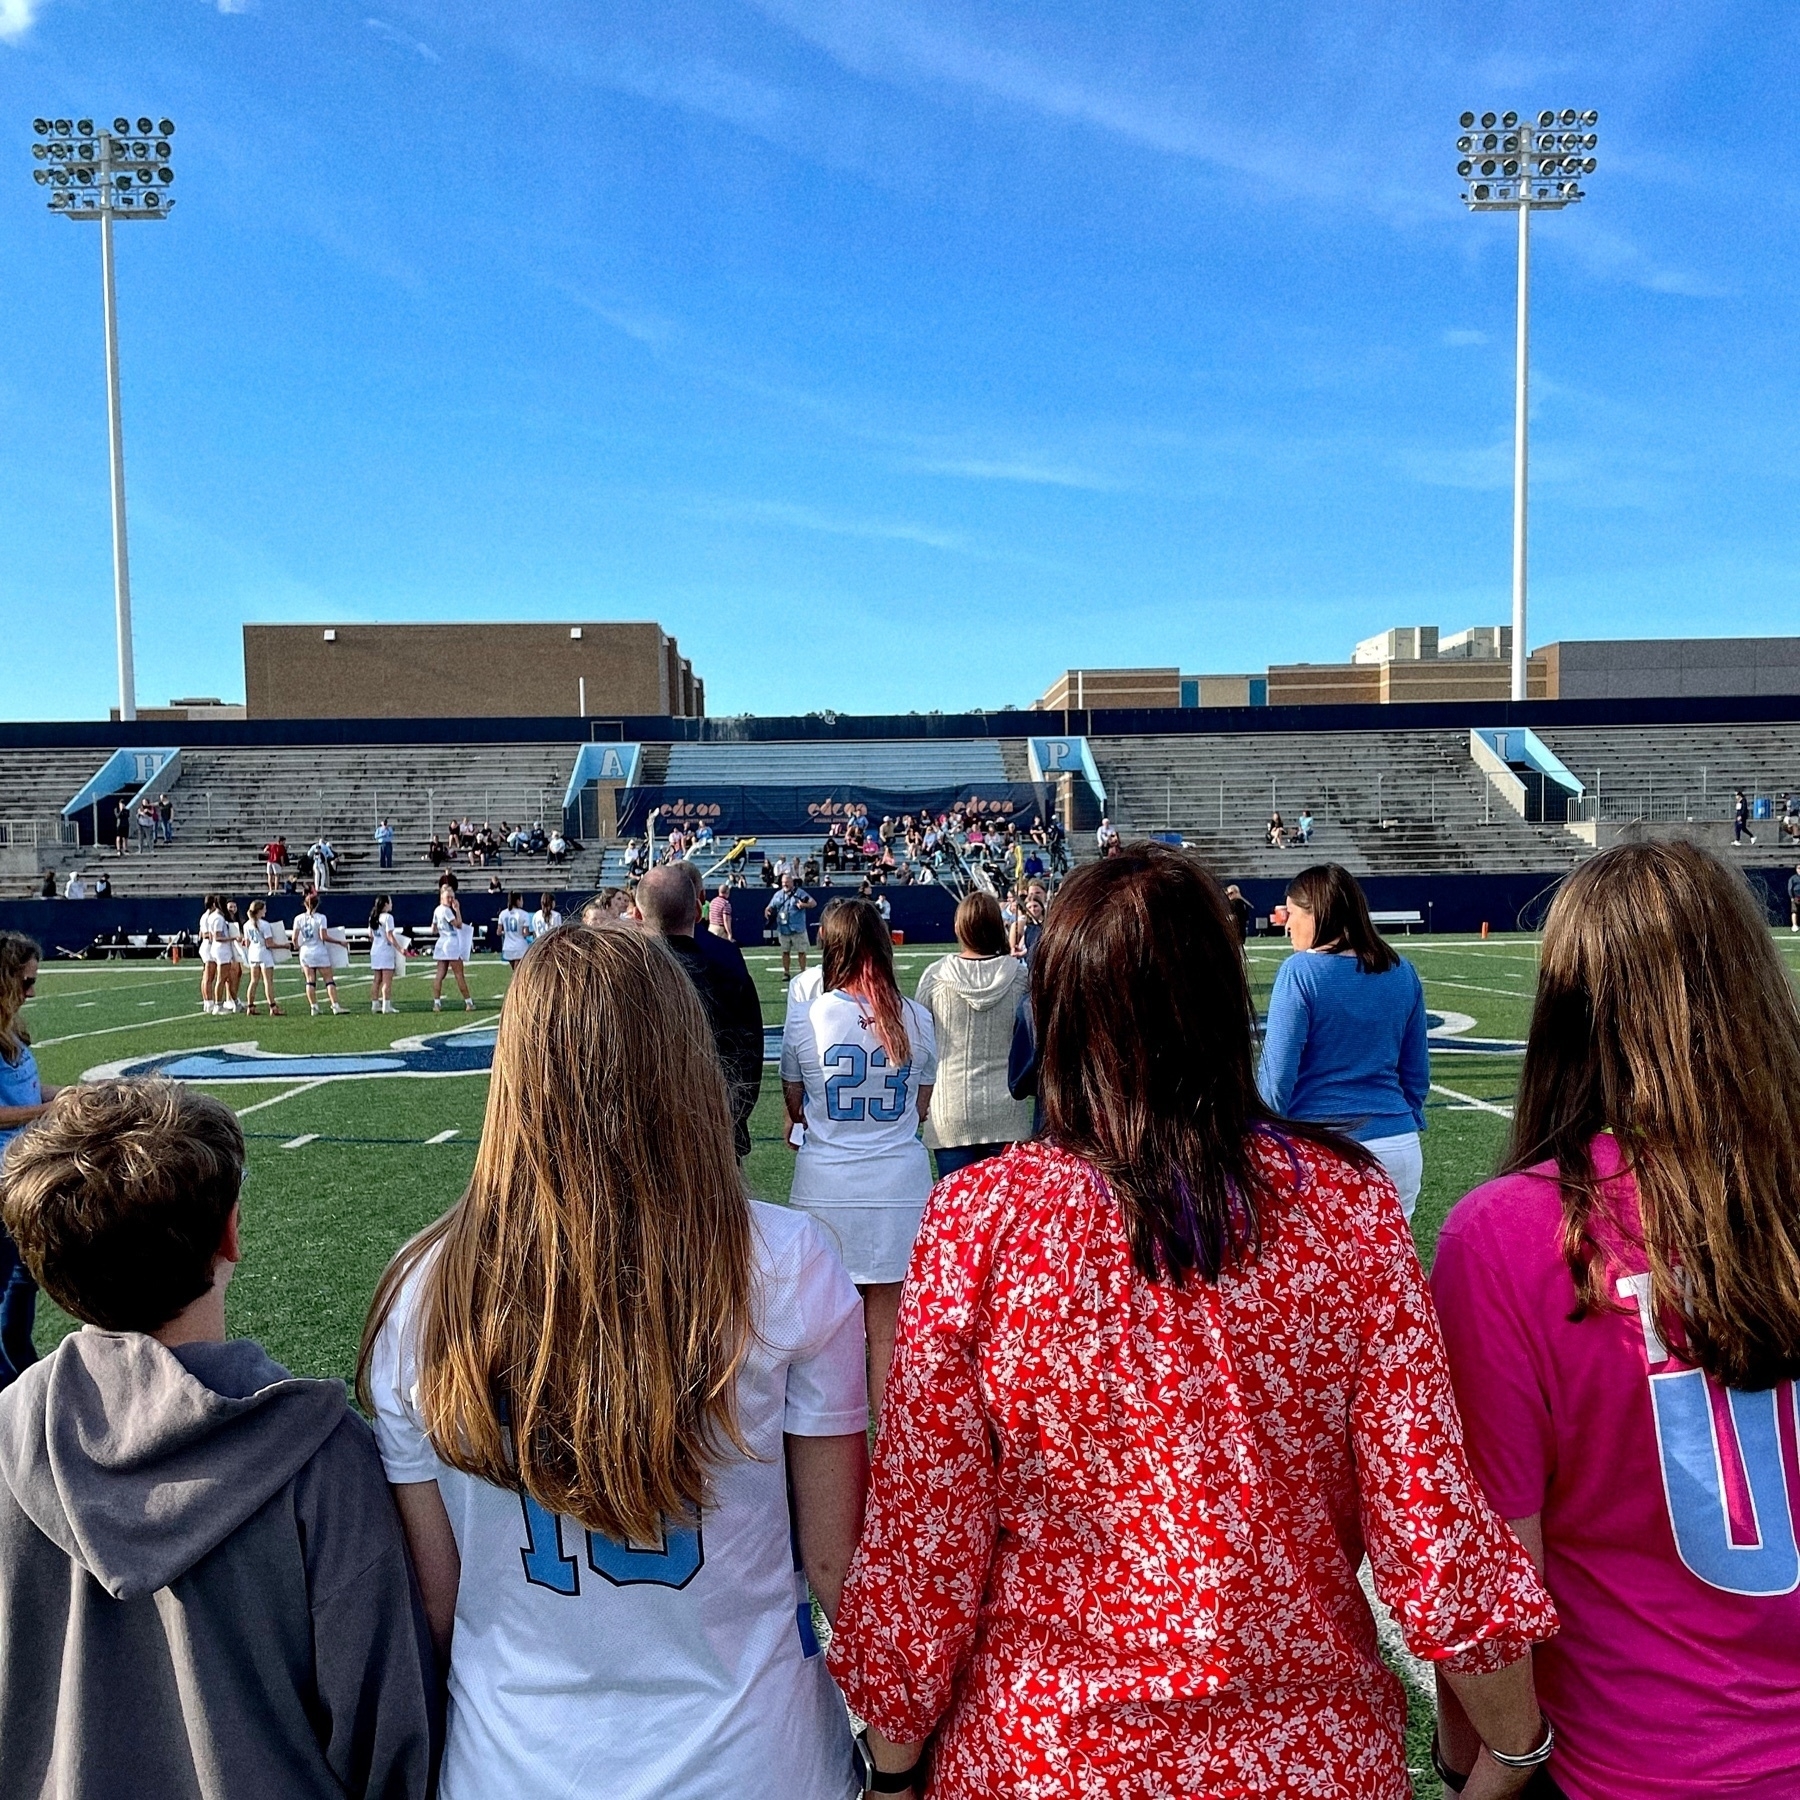
Senior night didn’t exactly go as planned, but it was fun to see Norah in uniform and on the field one last time.
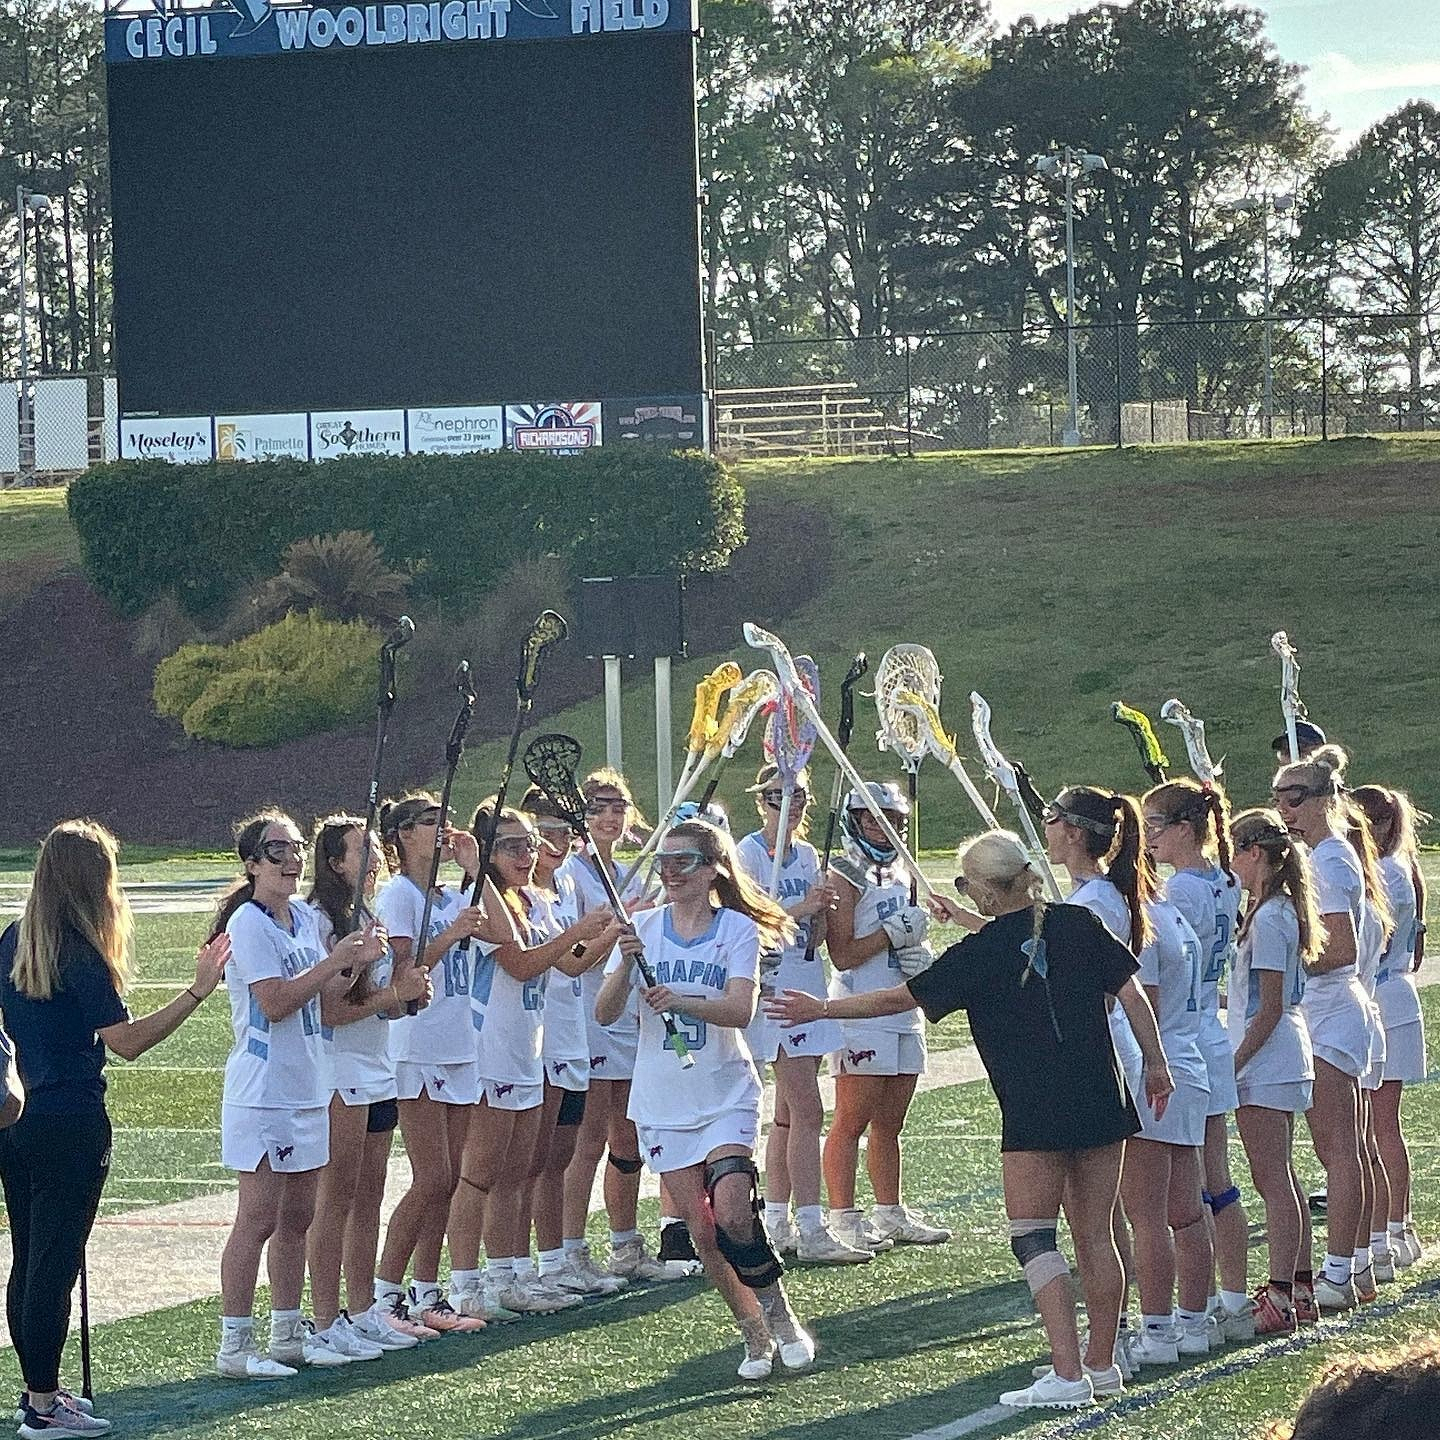
📷 March Photo Challenge #27. Support. Tonight was Norah’s Senior Night. Lots of people have supported her during her lacrosse career, especially during this season which ended early with an ACL tear. Chapin, SC.
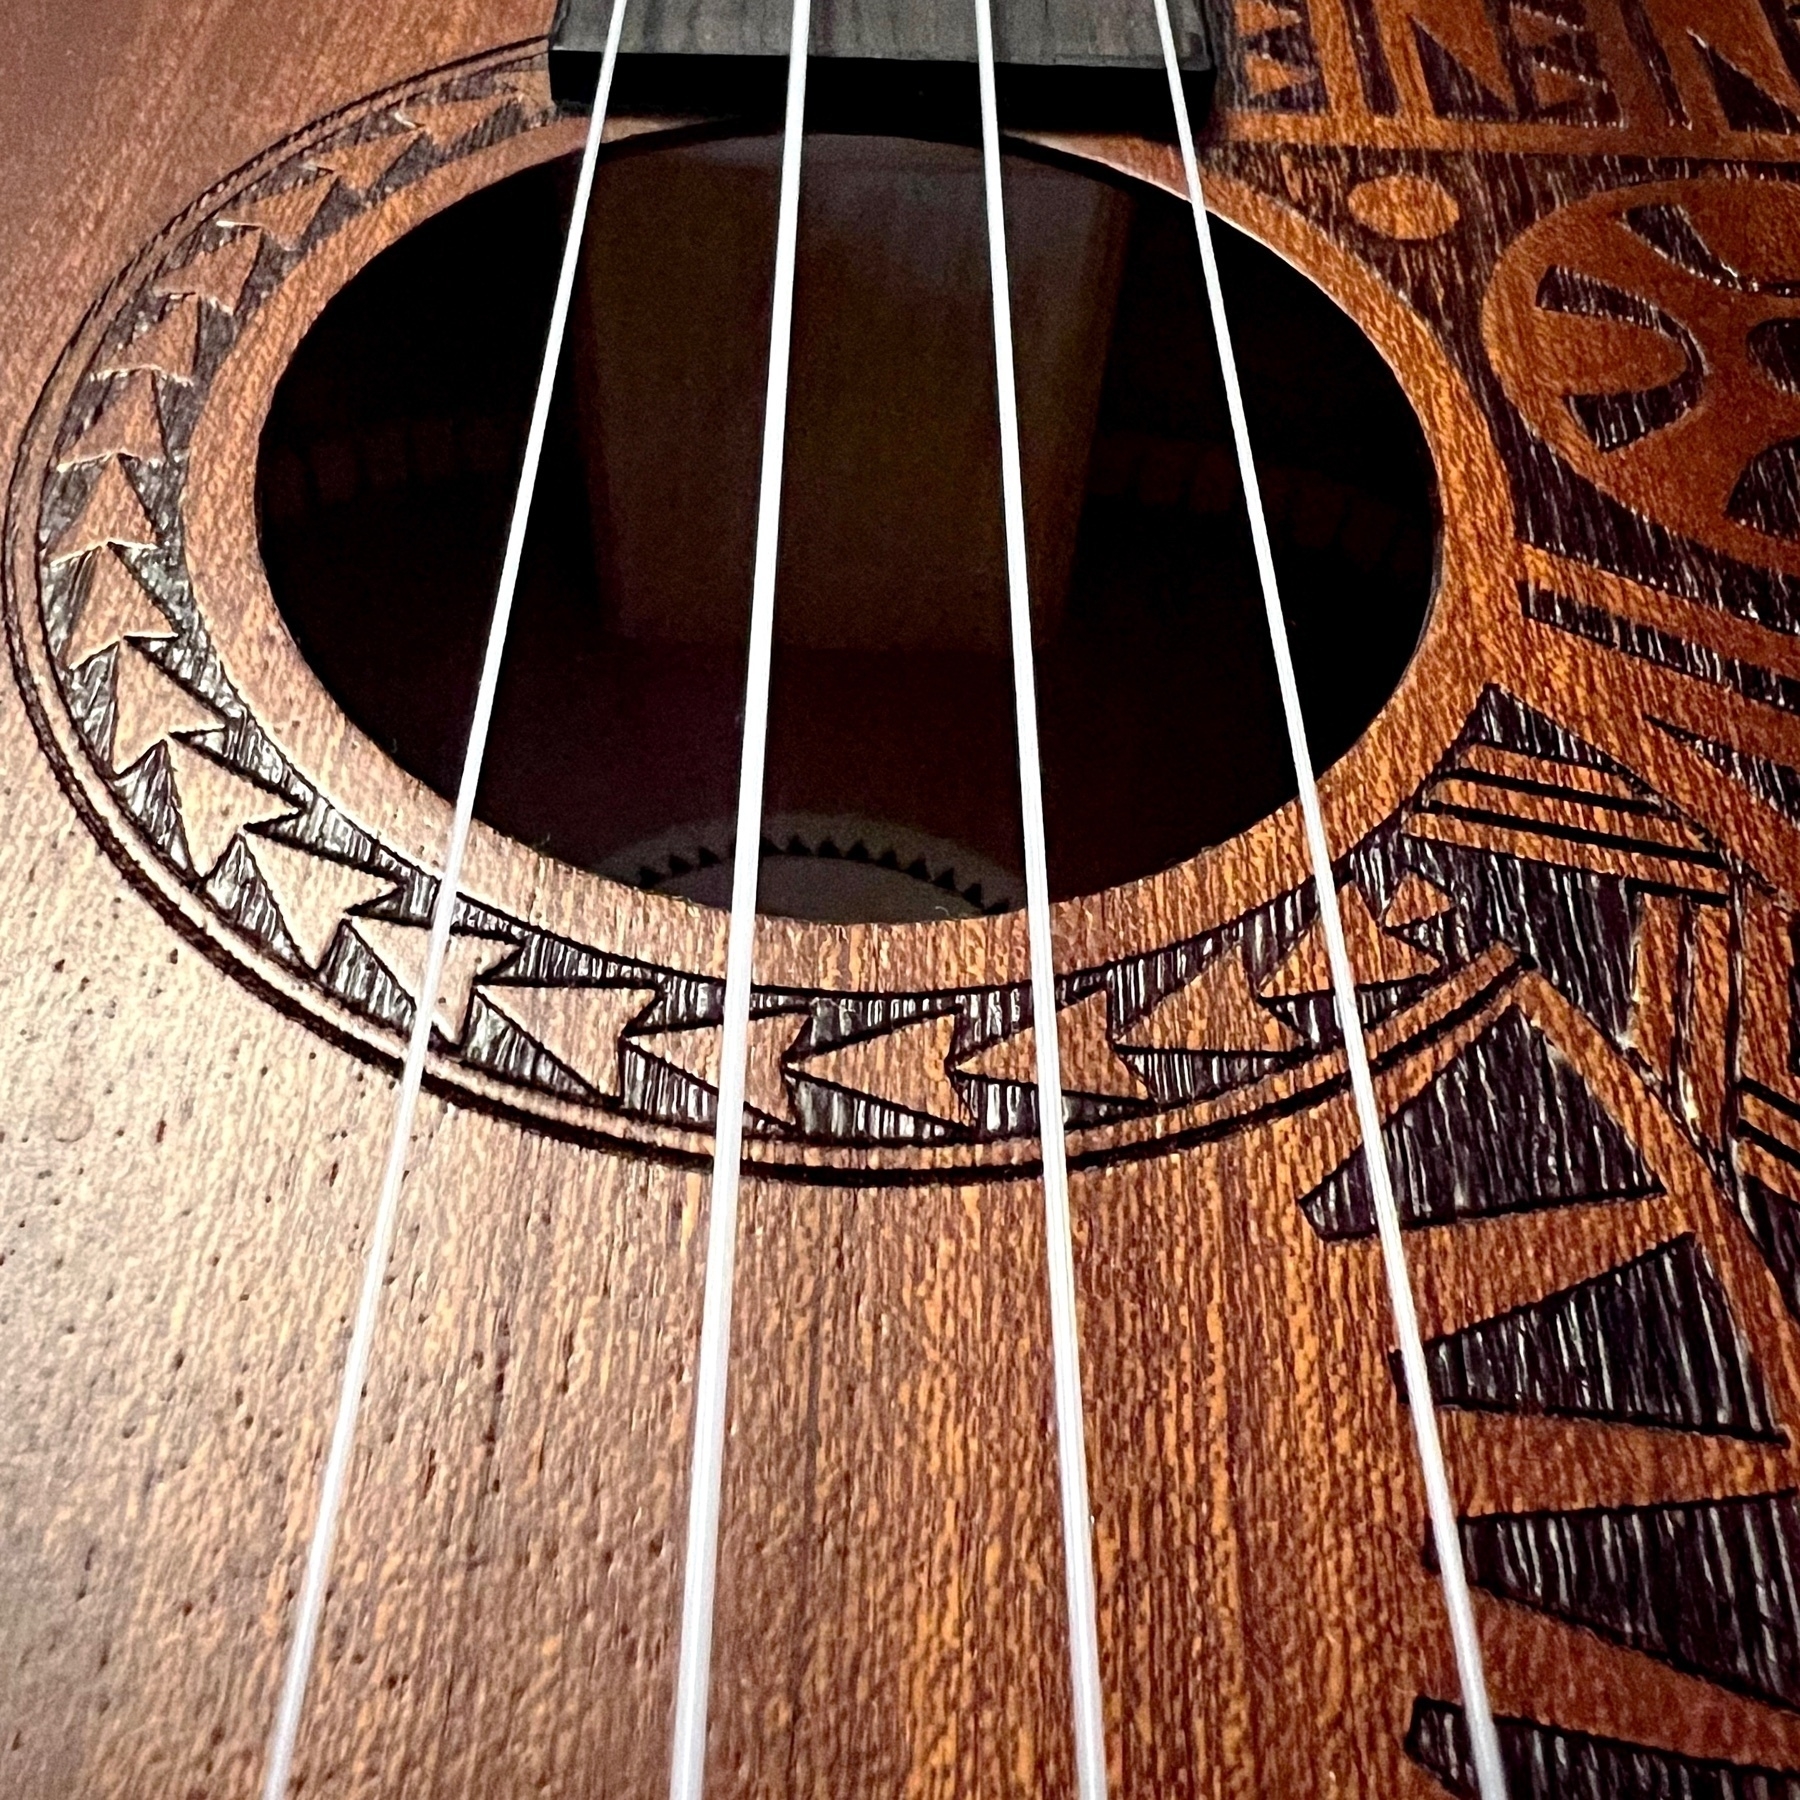
📷 March Photo Challenge #26. Instrument. My wife’s ukulele. Columbia, SC.
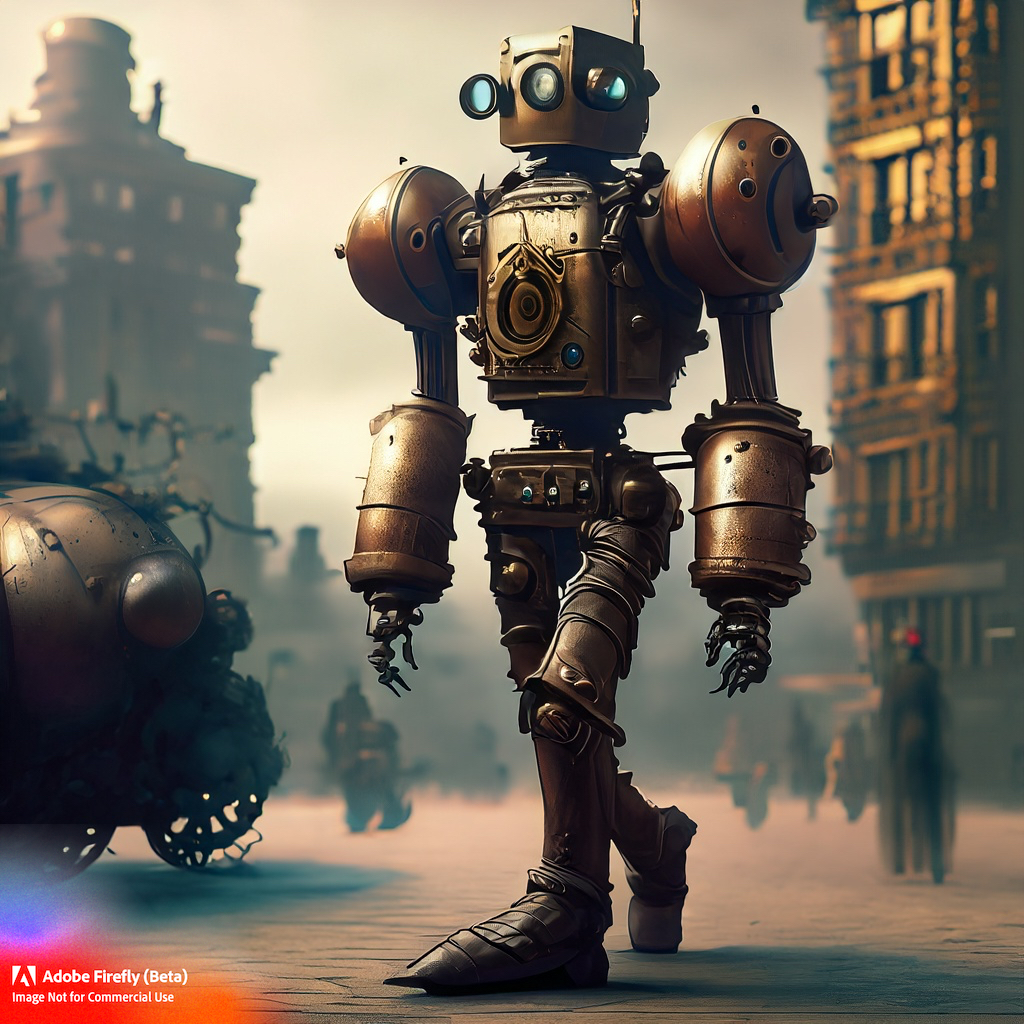
I wrote up my quick first thoughts about Adobe Firefly, but my 11-year old has also started playing with it. Here’s his bronze steam-powered robot walking in a cityscape.
First impressions of the Adobe Firefly Beta
3/26/23 • 4 min read
The beta service gives some insight into how Adobe views AI’s role in the creative process.
I recently got access to Adobe Firefly, a beta generative AI system. It’s not a surprise at all that Adobe is experimenting with generative creative tools. Adobe is clearly looking at ways AI can integrate with the tools that they already offer. Thankfully, unlike an earlier wave of visual AI tools, Adobe has trained their AI model on properly-licensed images. Generated images are restricted to non-commercial use and a label is added to exported images, but you shouldn’t see a Getty Images watermark anywhere.
I’ve been following news about generative AI, but I haven’t really experimented with any of the other tools. It’s been more of an abstract curiosity. Now after playing with Adobe Firefly, I can see some of the practical implications of generative AI tools and started to think about how those features could fit into a design workflow. Also, as a Ph.D. student trying to settle on a dissertation topic, I see lots of research questions when I look at generative AI and Adobe Firefly.
Right now, the service has two features: Text to Image and Text Effects. I’ve spent a little bit of time experimenting with Adobe Firefly and wanted to share some initial impressions.
Text to image
The text to image feature is straightforward. Type in a prompt and Firefly generates four images. On the right, there is a palette with options that lets you refine your request. You can choose the aspect ratio, content type, style, lighting and composition. Below is a screenshot of the interface and a few examples of what it can do:

Prompt: green metal fish-shaped spaceship on an alien planet
Styles: art, concept art, dramatic light, flat colors

Prompt: green hot rod racing through the desert
Styles: photo, muted, blurry background, backlighting, science fiction

Prompt: loose sketch of a white male with a green sweater and a stubble beard typing on a laptop in a coffee shop
Styles: art

A couple of quick reflections on using Firefly’s Text to Image feature:
- For the content type, I feel art worked best for the creations I generated.
- The select similar button lets you refine easily
- Realistic people and animals are a struggle. I accidentally generated a person with two noses. And sometimes, an arm connects in the wrong spot.
- If you include too many prompts, Firefly often doesn’t know how to resolve them all and you get strange results.
Text Effects
Text Effects lets you specify and apply an AI-generated effect to some text. Firefly has a few sample effects that give you a good idea of what the feature can do. You can choose from 12 different fonts.

Prompt: Green fluffy clouds, tight fit, transparent background

Prompt: Circuit boards, tight fit, grey background

Prompt: Flowers and Rocks, loose fit, white background

A couple of notes:
- If you have two of the same letter, they are identical. And while I understand that, it ruins the hand-created art look. Hopefully they’ll change this in future versions.
- The transparent background works well when you use the loose fit because elements overflow the shape of the letters.
- I could see this feature being built into Adobe apps eventually.
What’s next?
Adobe Firefly is definitely a work in progress – it is a beta – but there are more features in development. The Adobe Firefly site lists one feature as coming soon, Recolor Vectors. I’m not sure how that will differ from the Recolor Artwork feature in Adobe Illustrator, but I’m looking forward to trying it out. Several other features are teased as “In exploration” and some of them look interesting. No idea how close to release these are — for all I know, they are ideas on a white board — but “text to vector” and “extend background” could be fun to play with. I’ll likely write additional posts as new features are introduced.
Bob Wertz is a creative director, type designer, Ph.D. student and researcher living in Columbia, South Carolina.
📷 March Photo Challenge #25. Spice. Random assortment of seasonings. Columbia, SC.

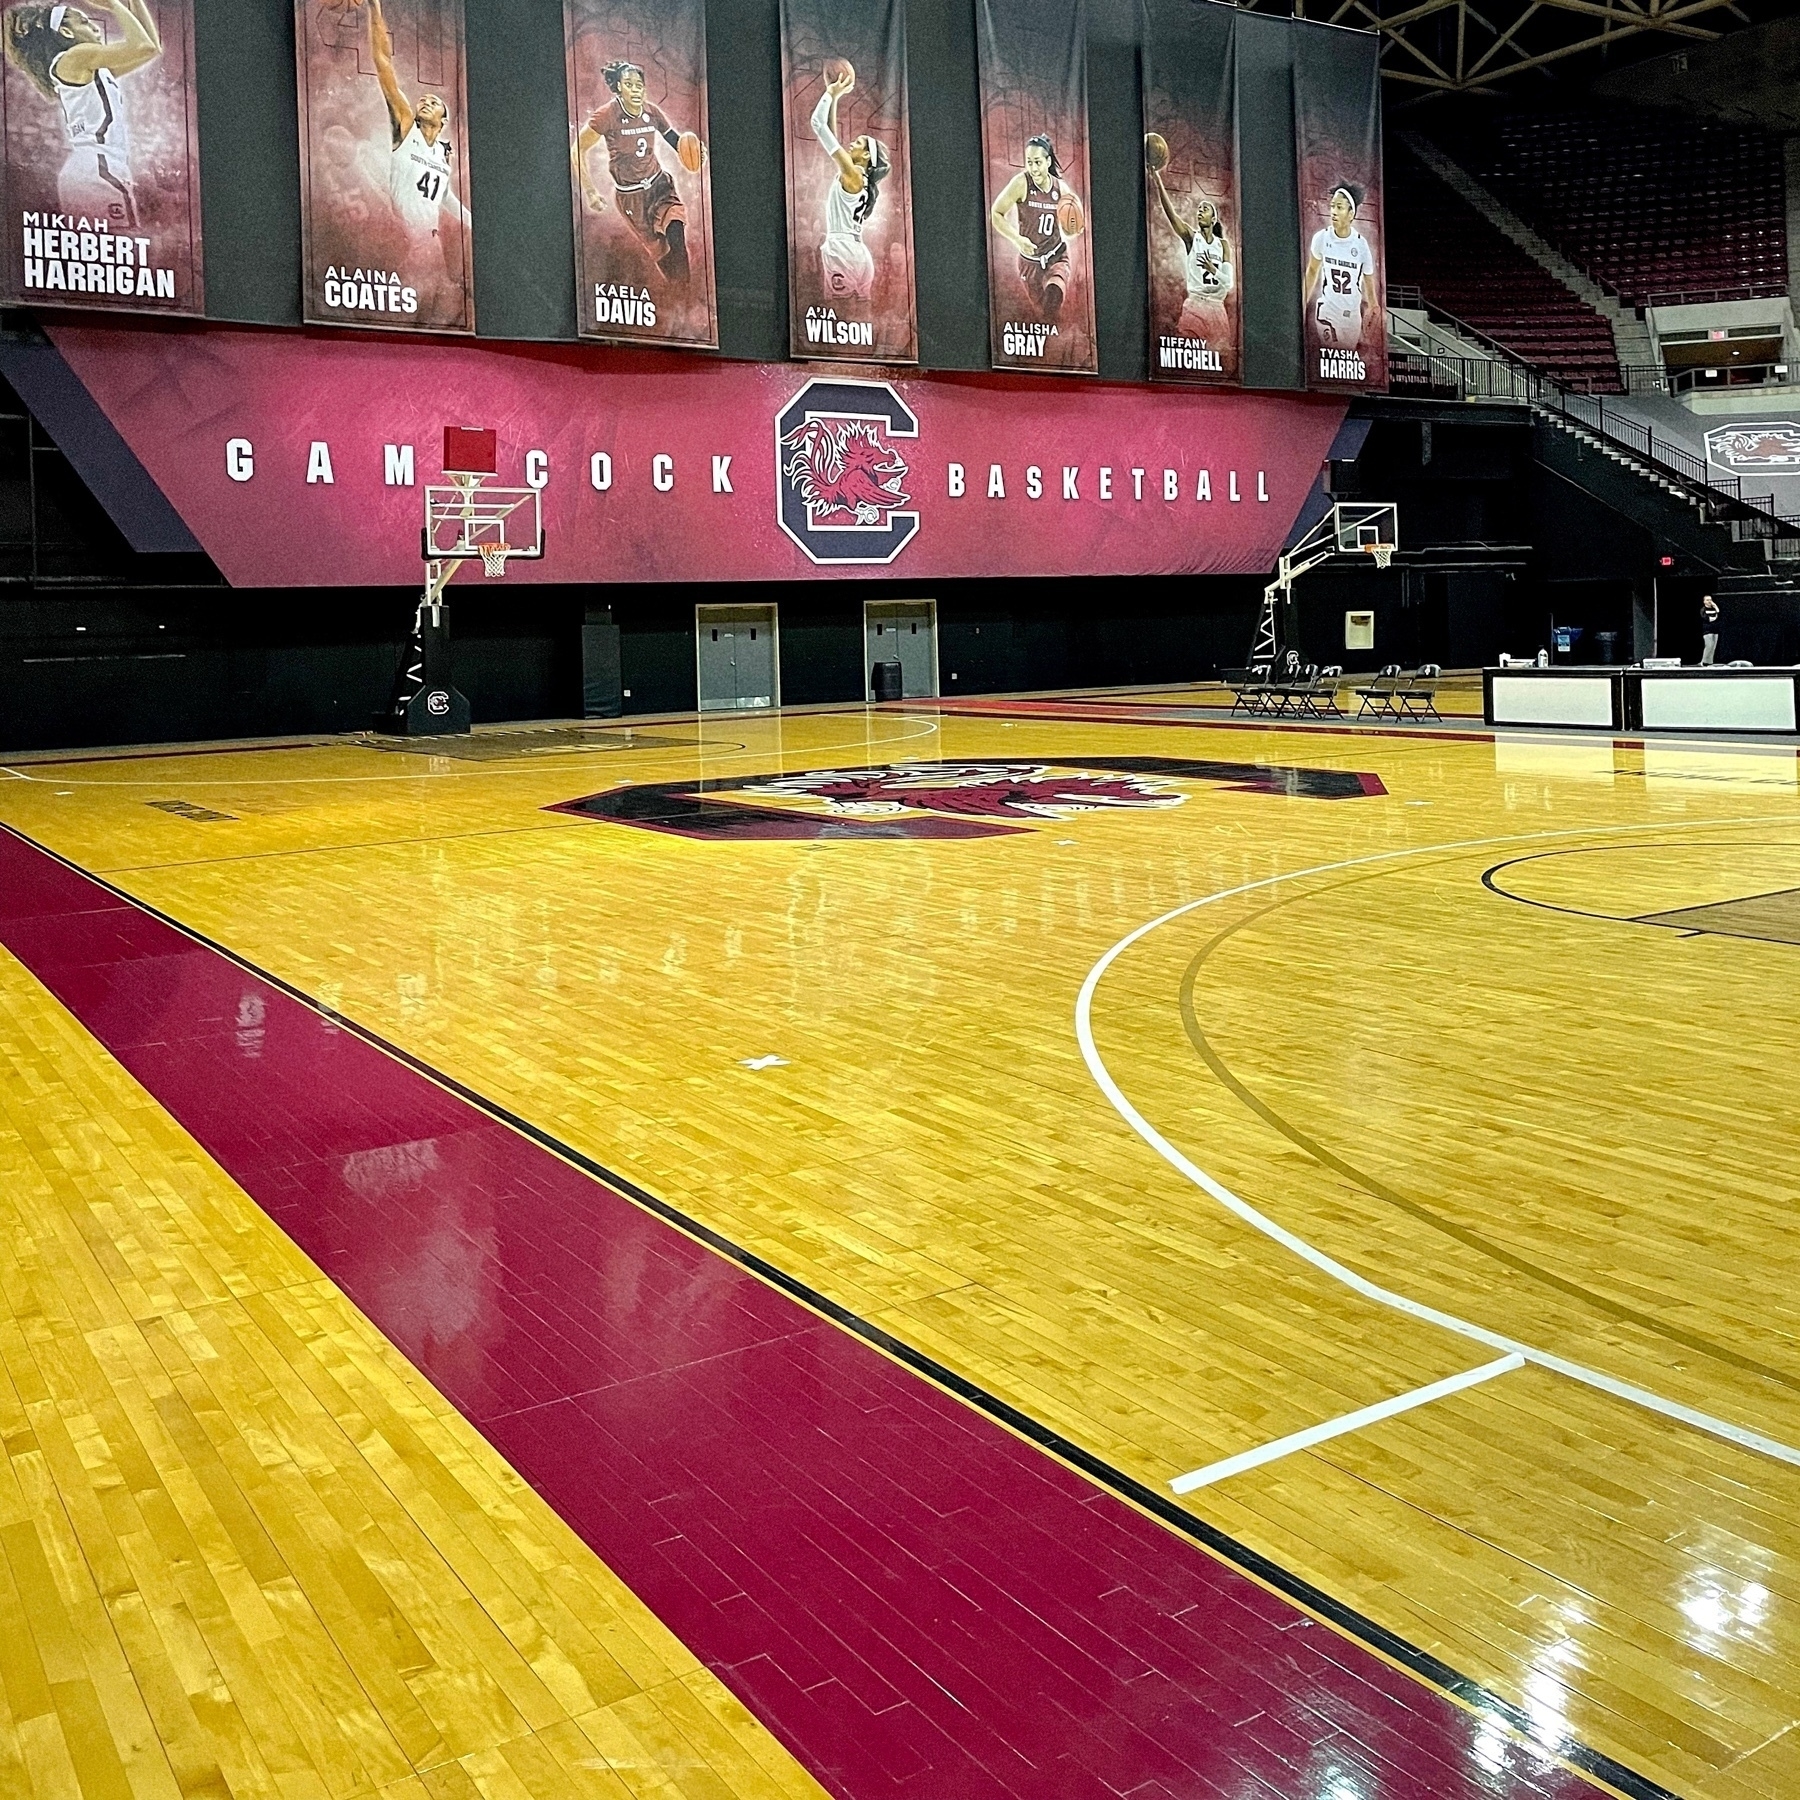
📷 March Photo Challenge #24. Court. Basketball practice facility at the University of South Carolina. Go Gamecocks. Columbia, SC.
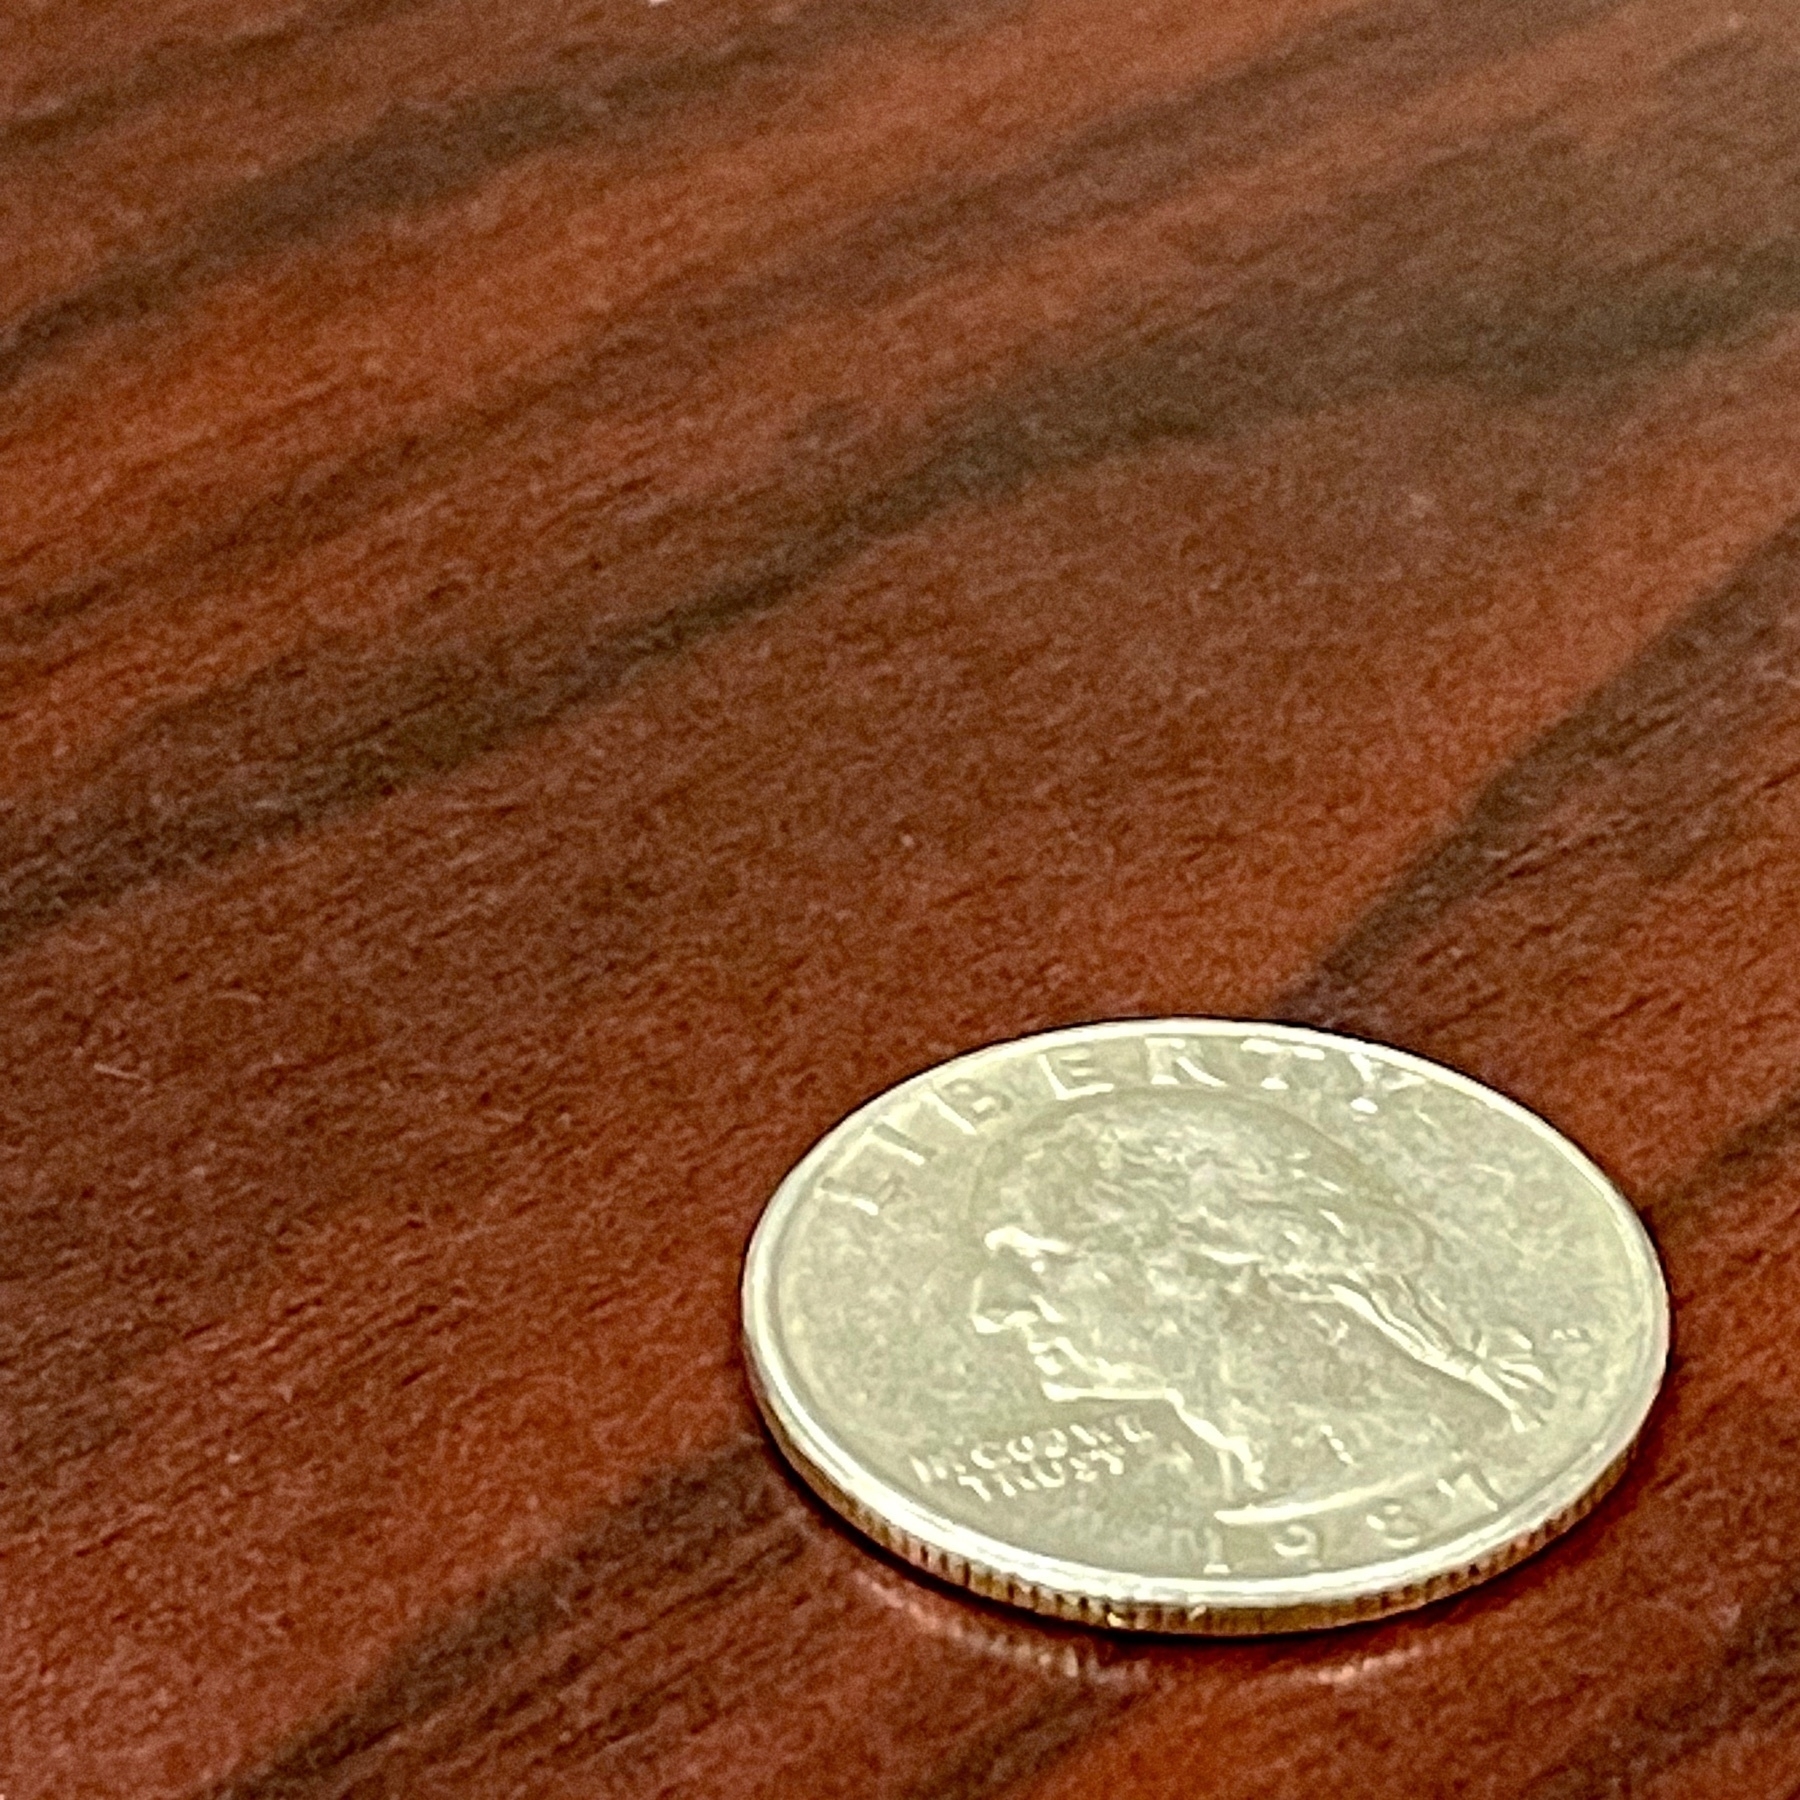
📷 March Photo Challenge #23. Chance. Flipped a coin. Heads. Columbia, SC.
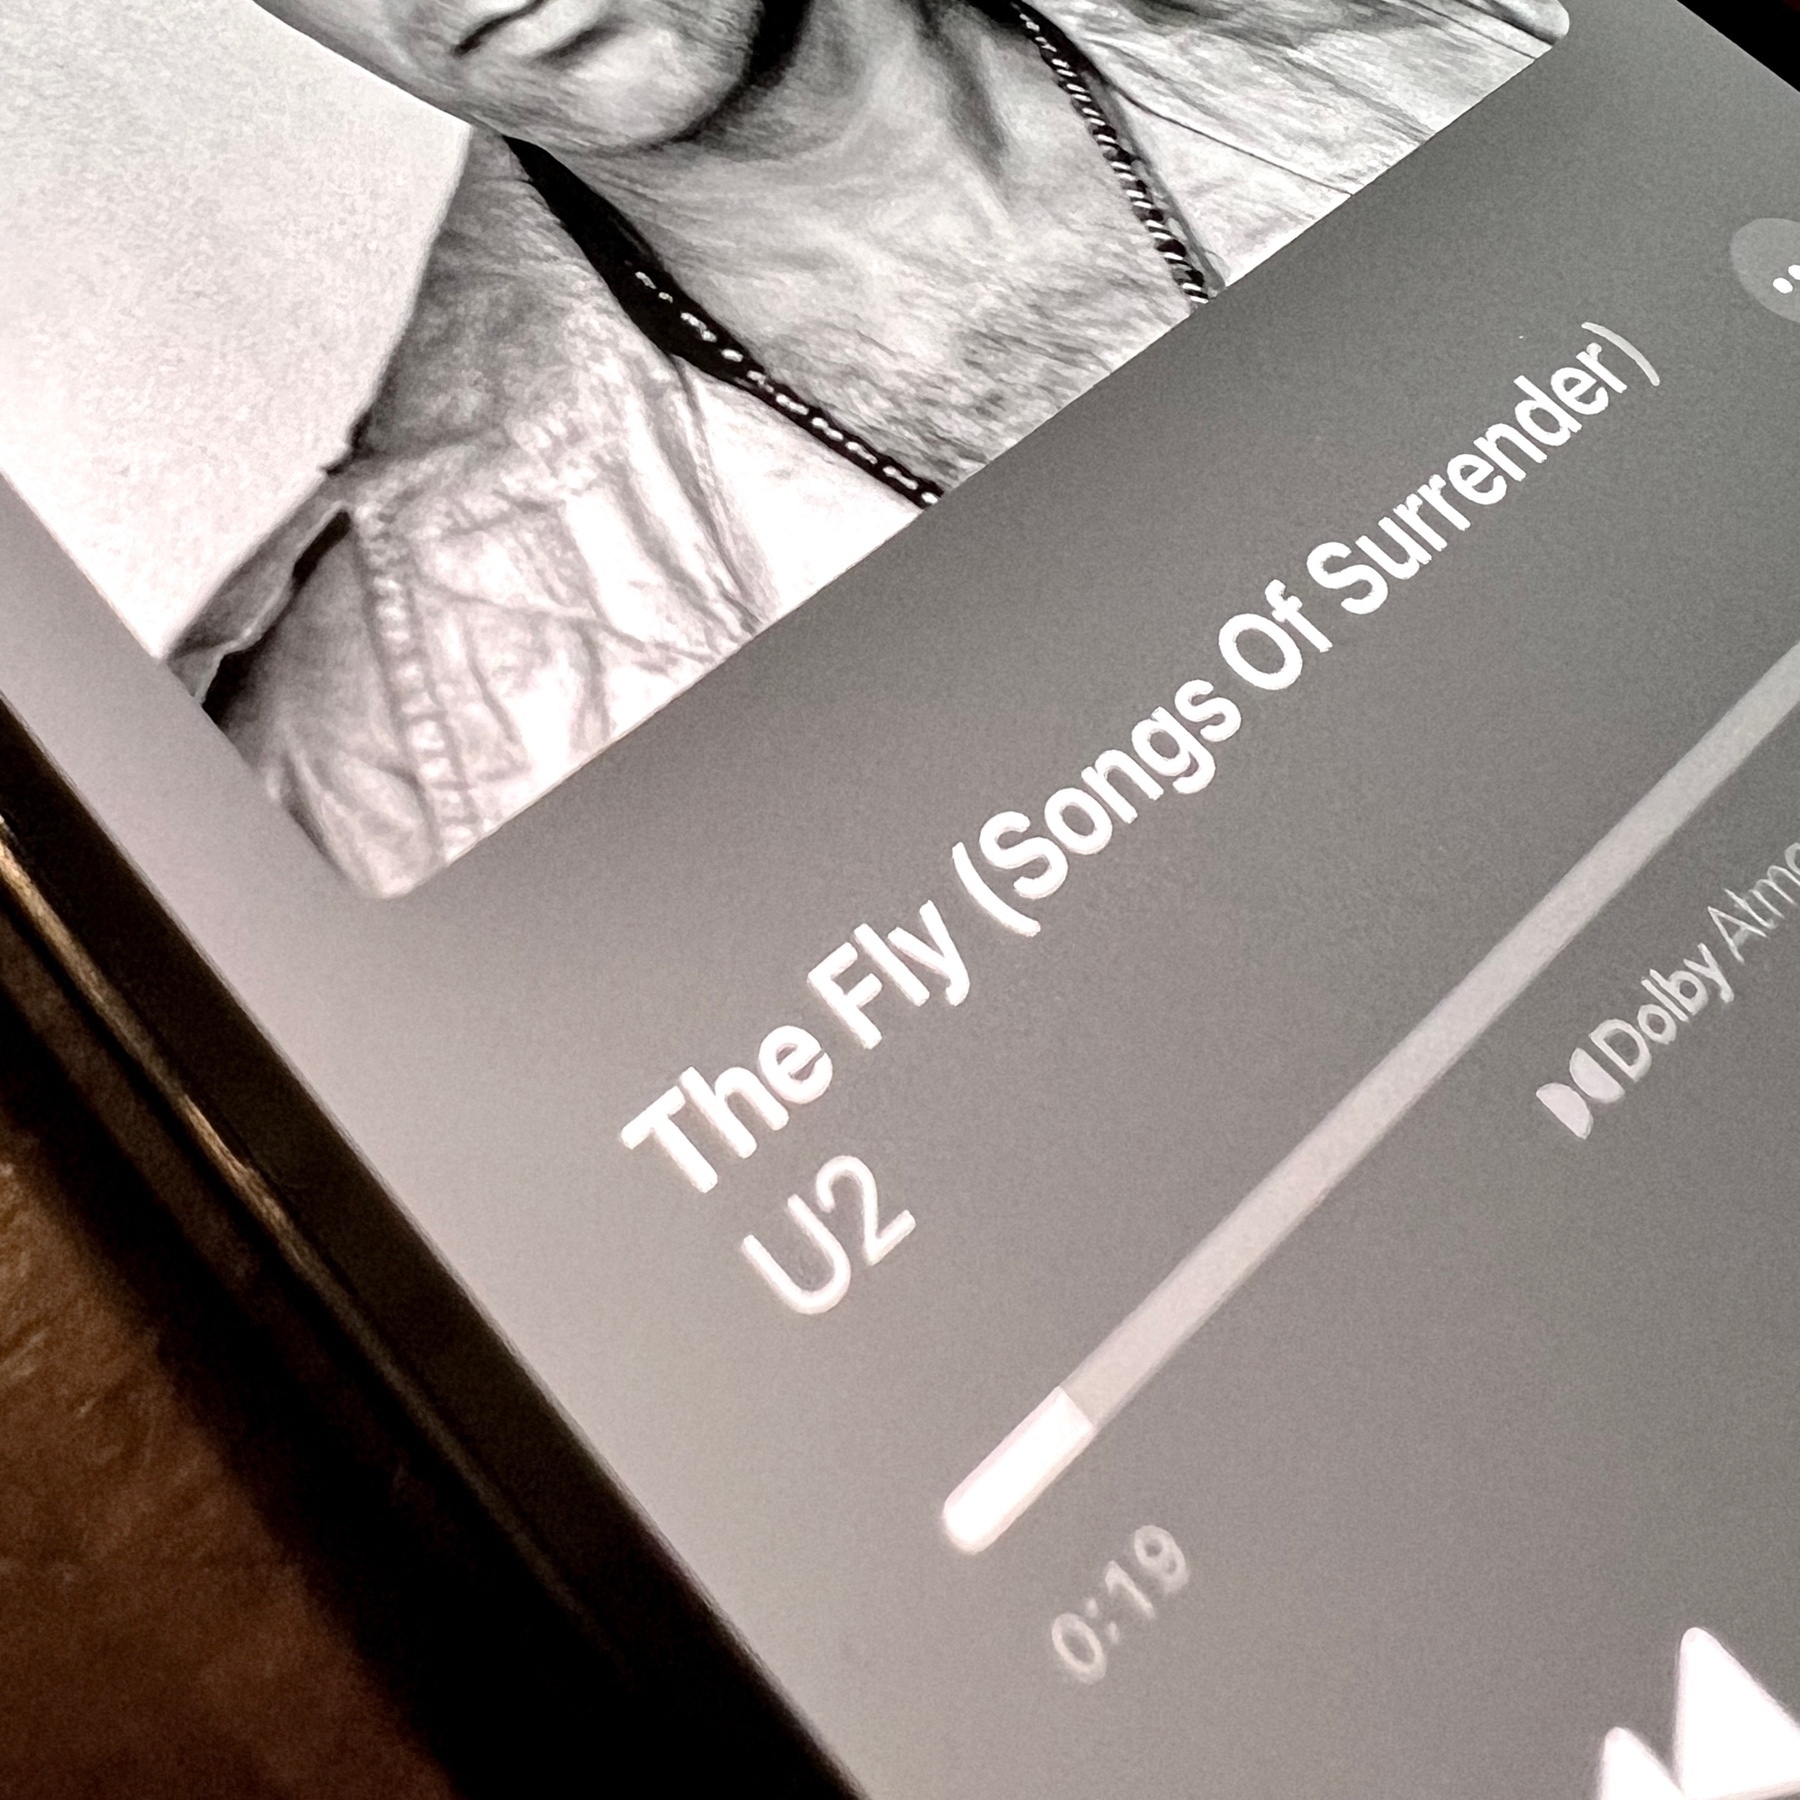
📷 March Photo Challenge #22. Insect. Listening to U2’s new version of The Fly. Columbia, SC.
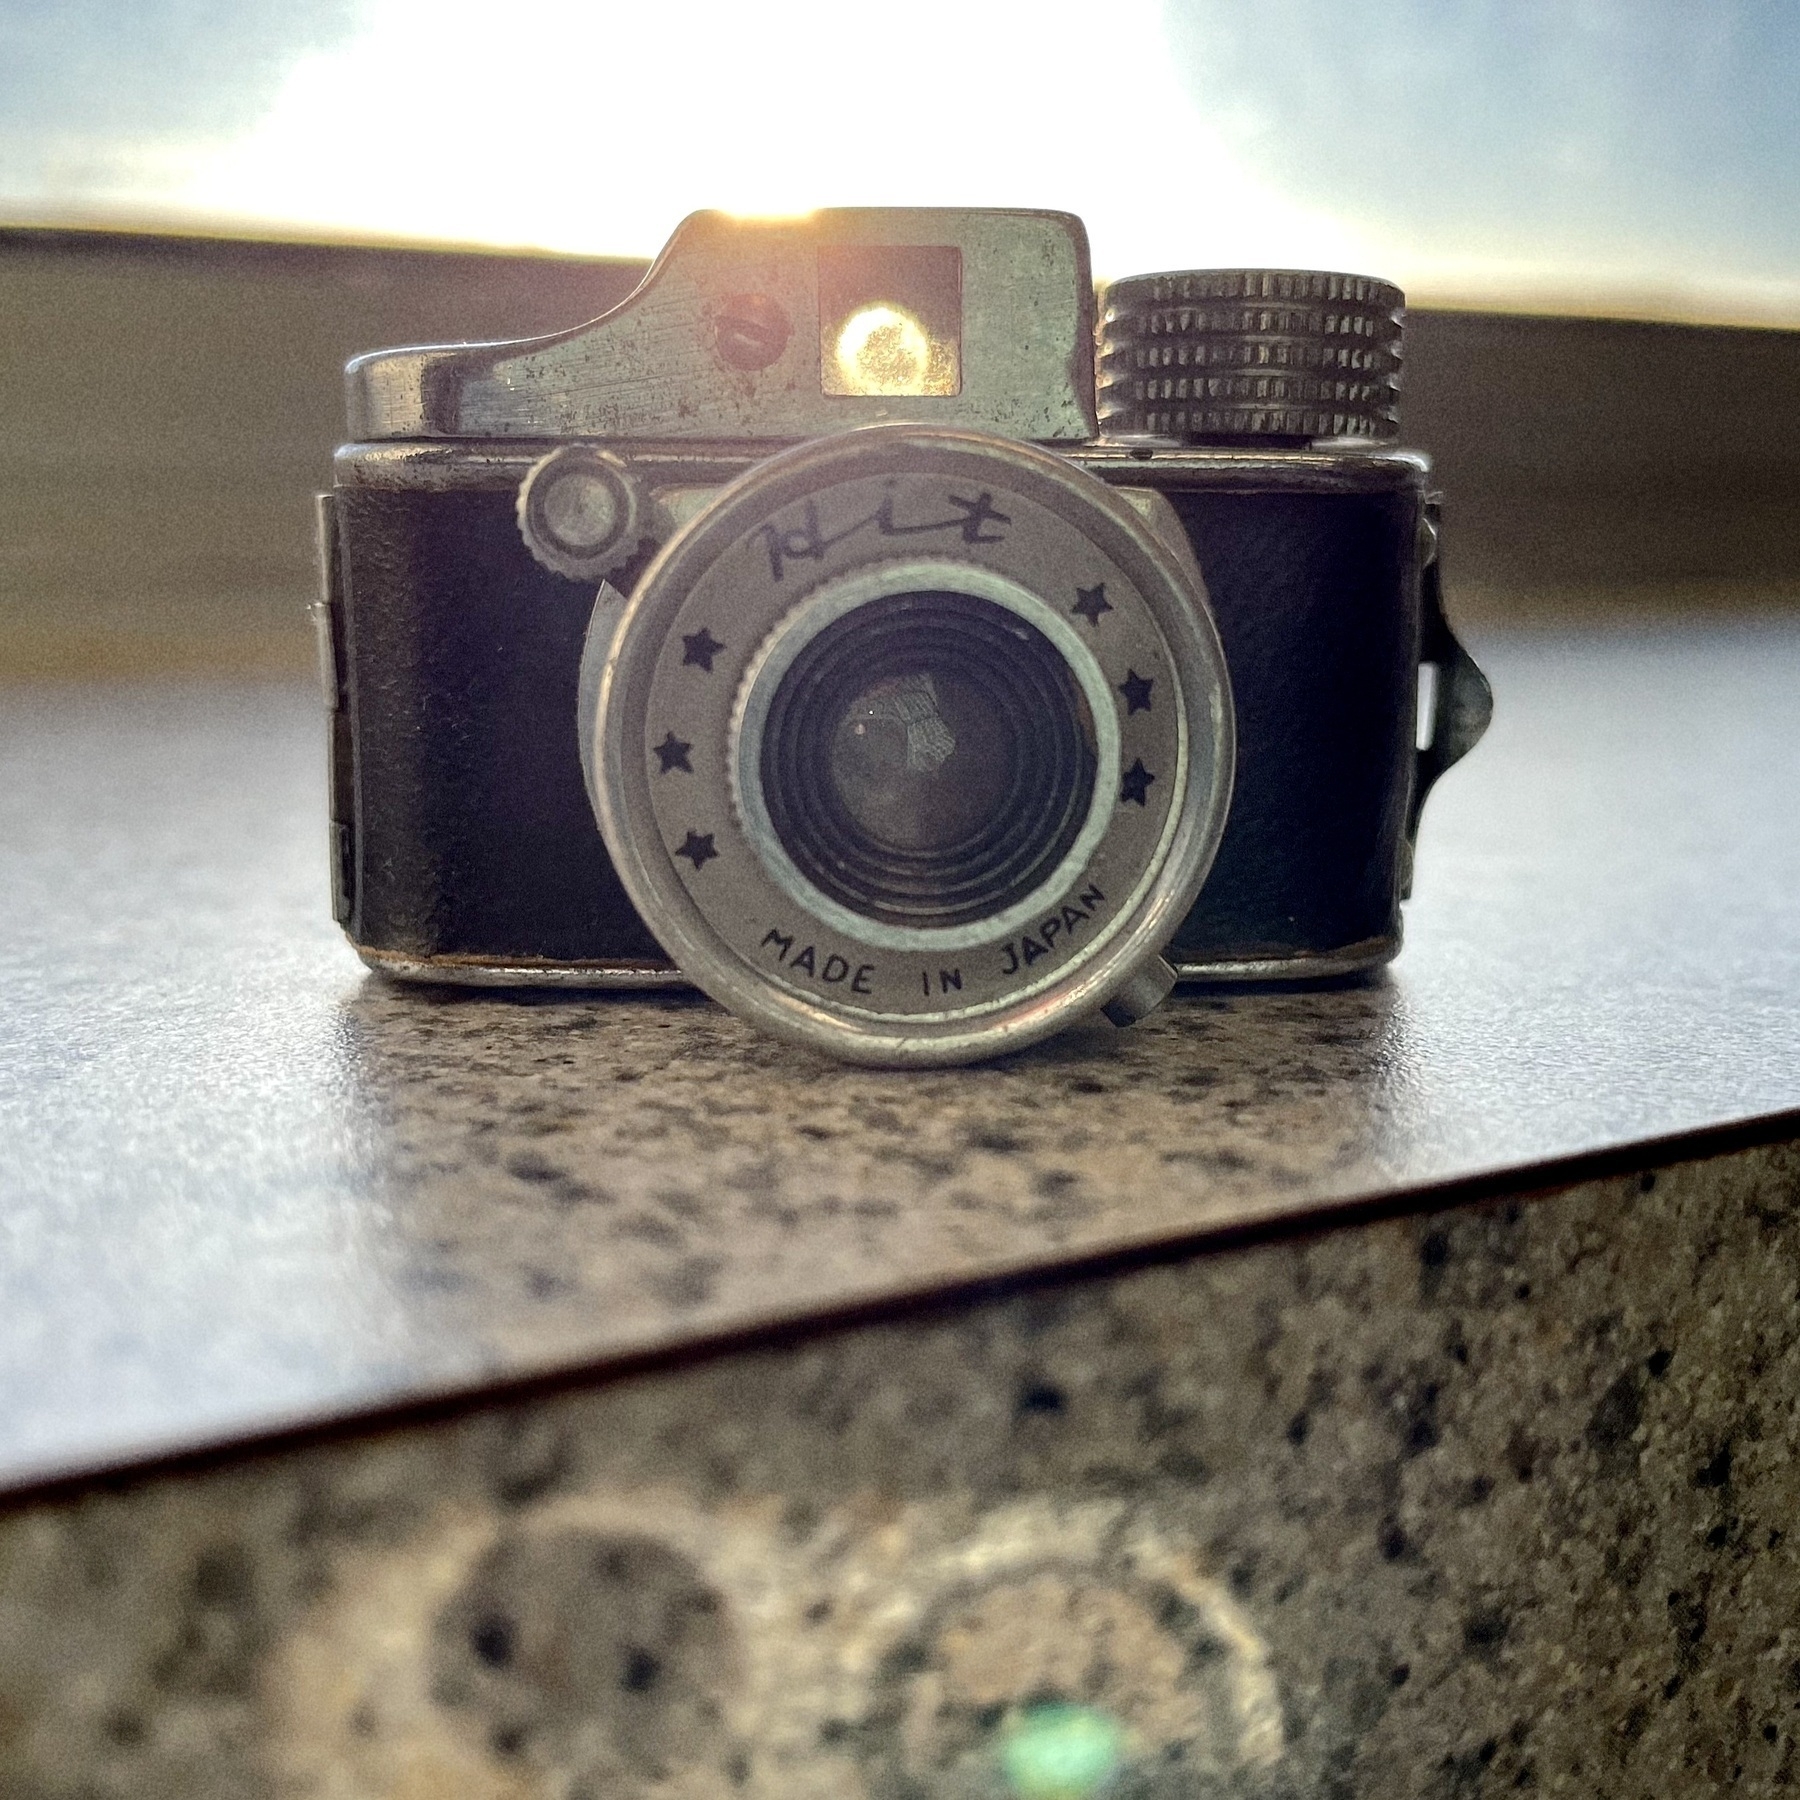
📷 March Photo Challenge #21. Tiny. 1950s Hit subminiature camera. Columbia, SC.
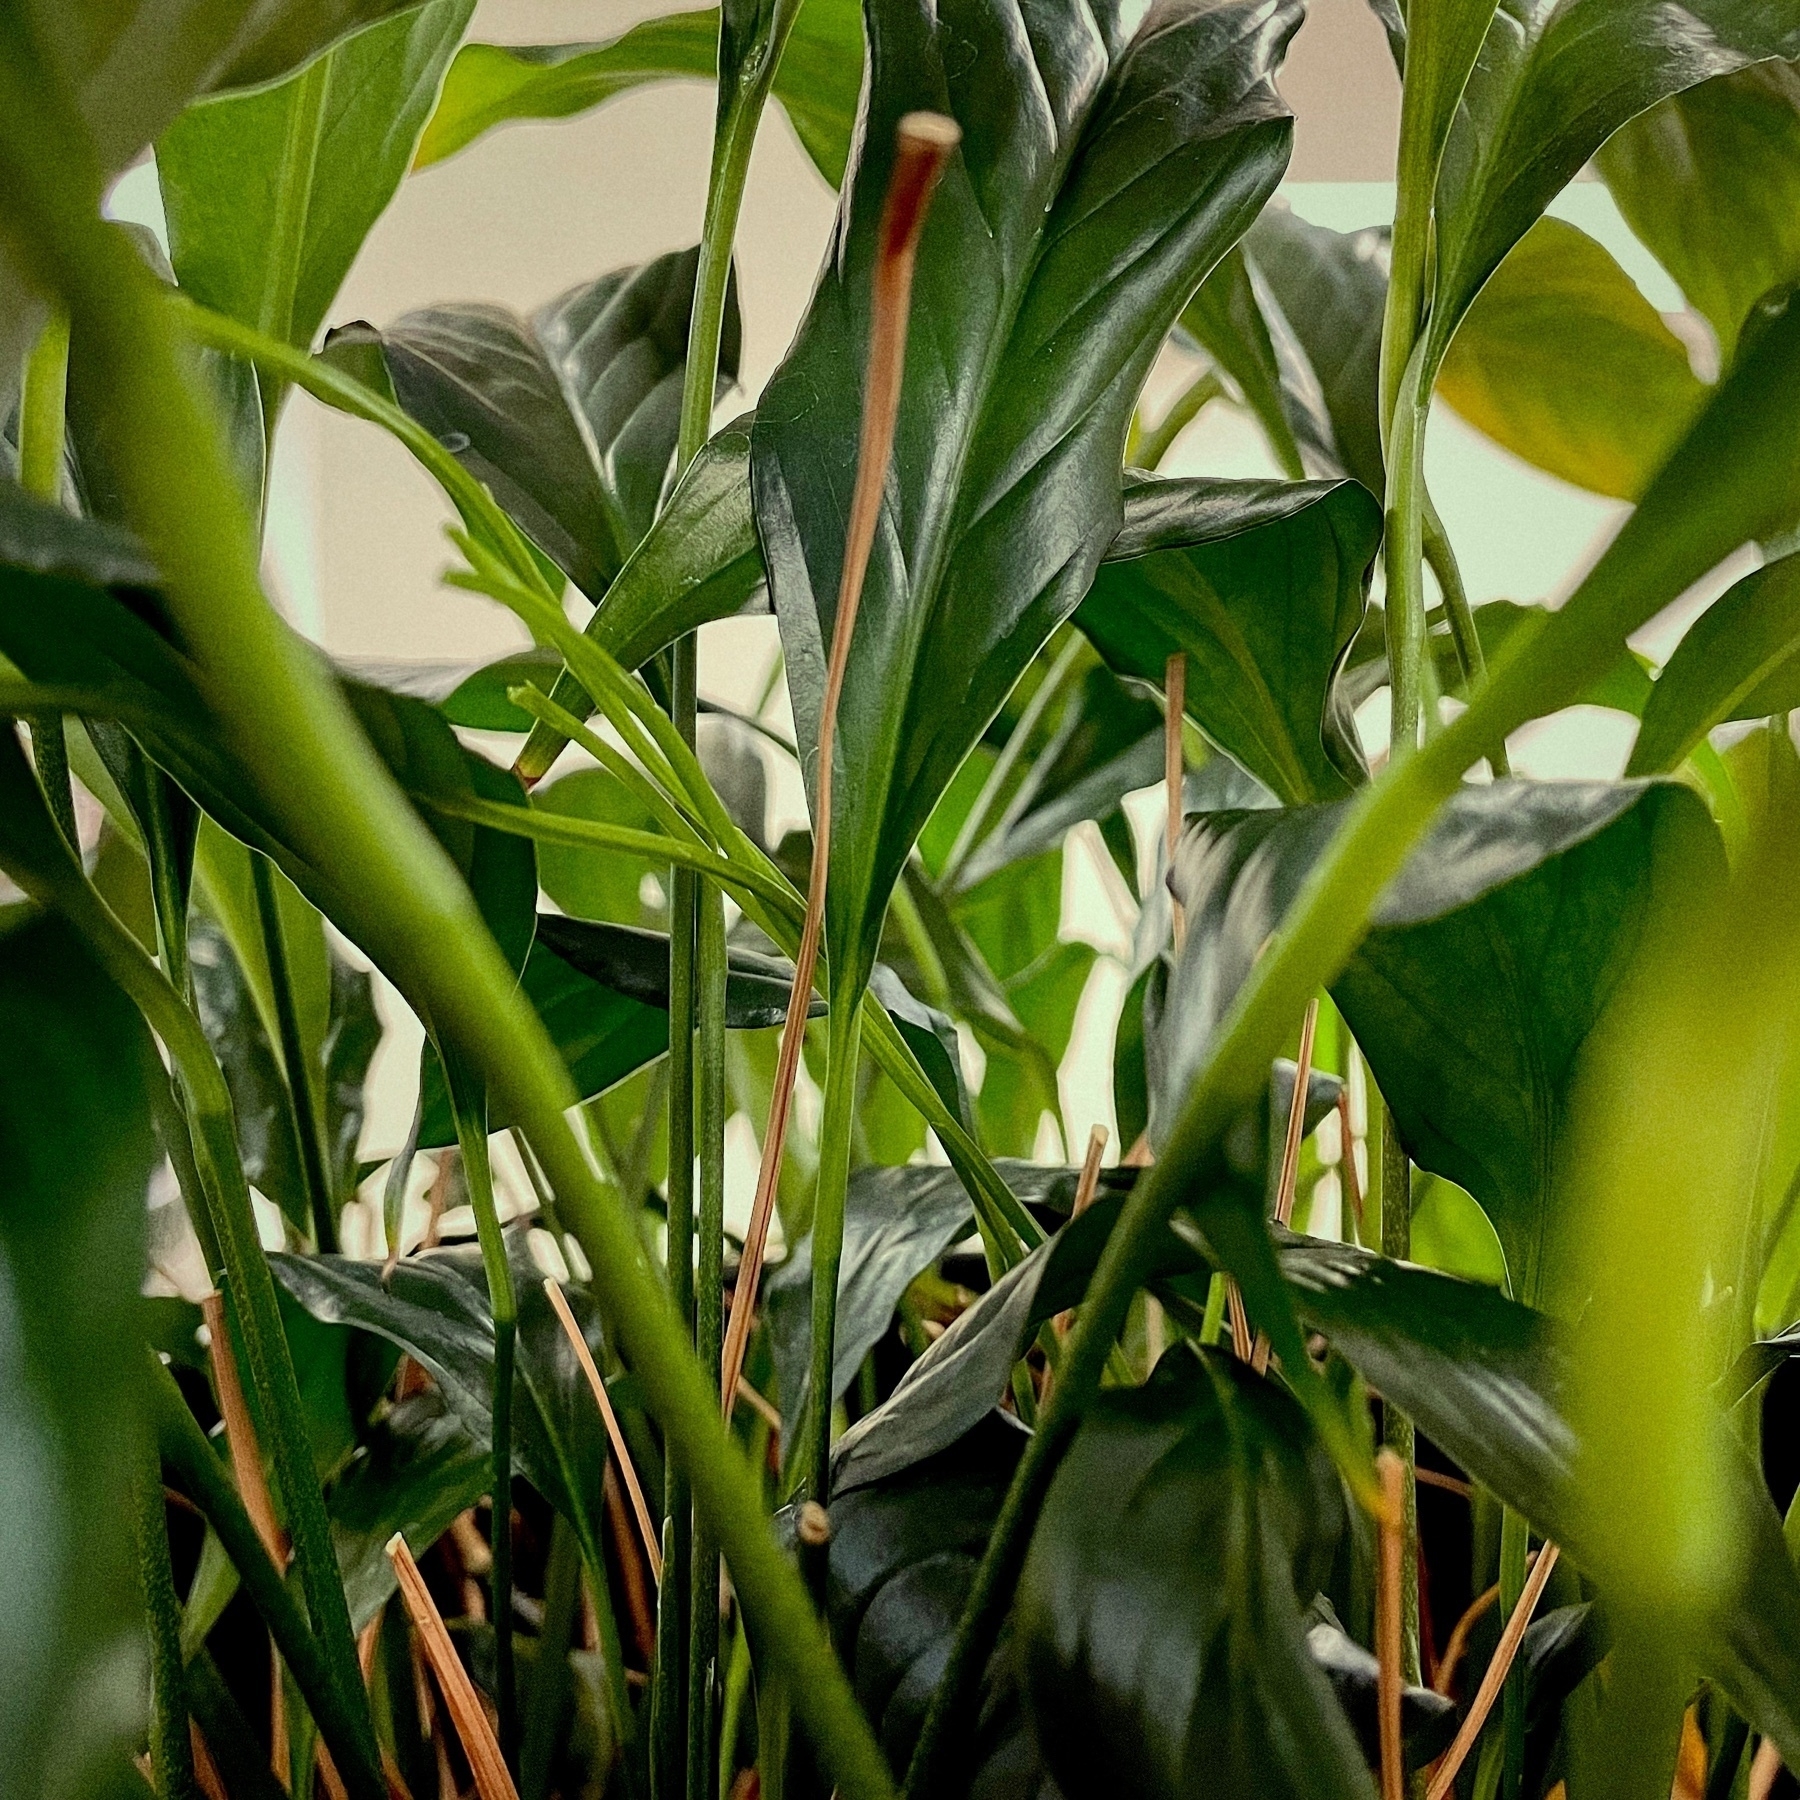
📷 March Photo Challenge #20. Houseplant. Up close and personal with the plant in our office. Columbia, SC.
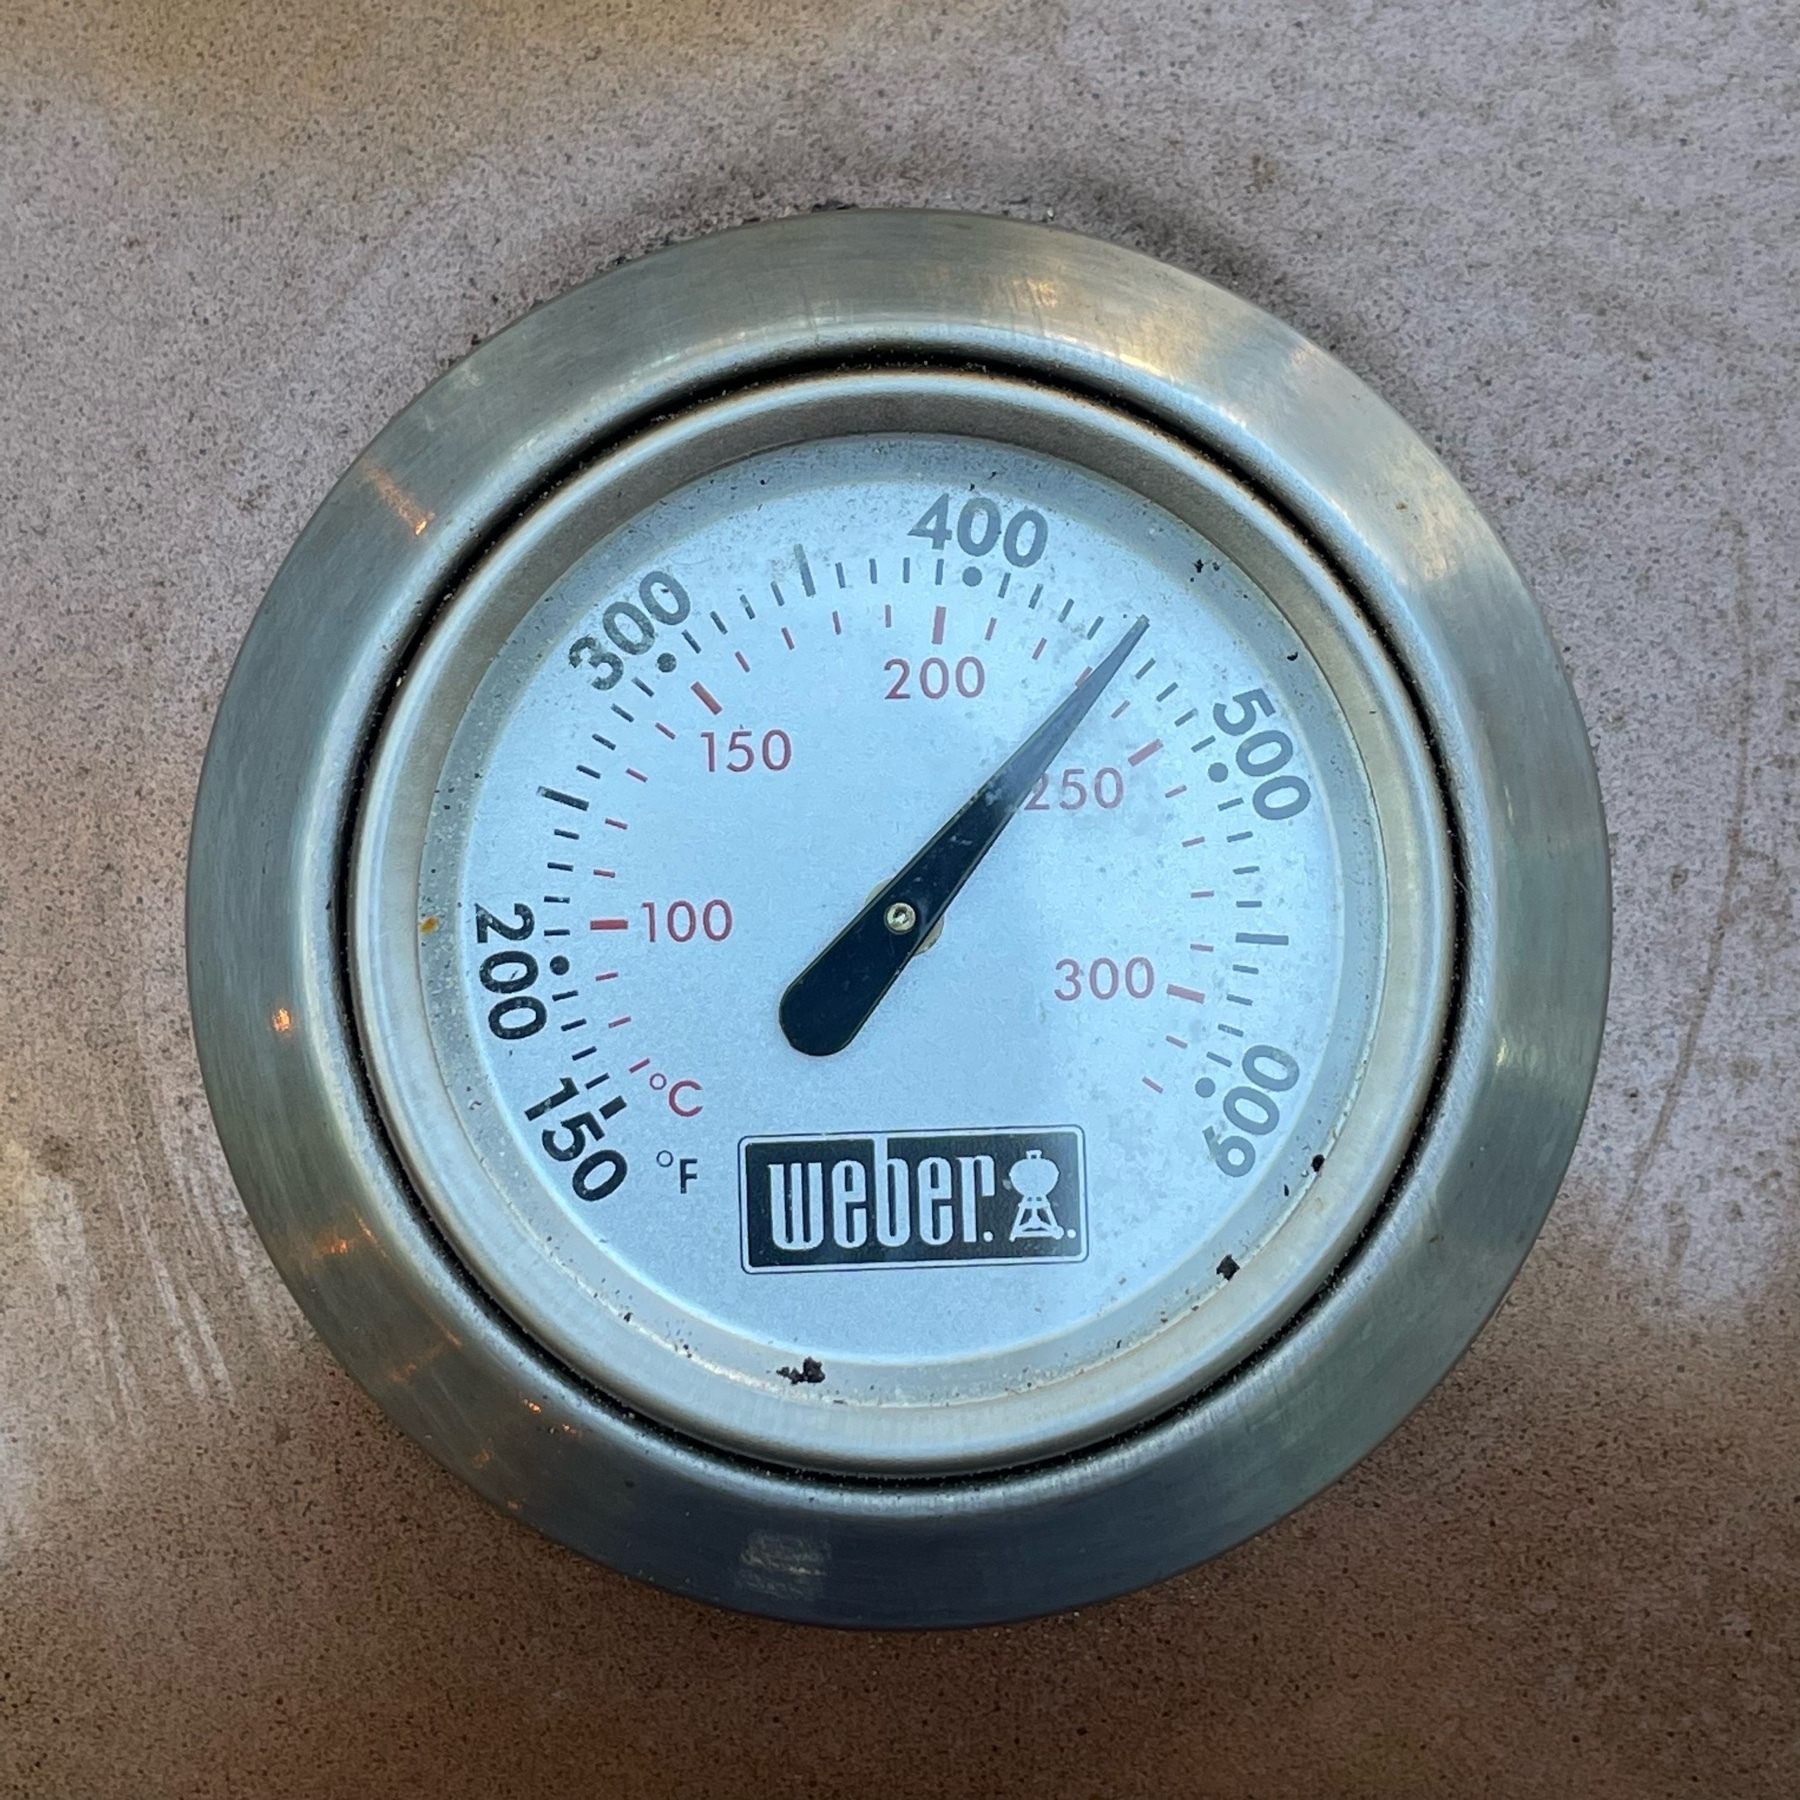
📷 March Photo Challenge #19. Analog. Weber Kettle thermometer. Columbia, SC.