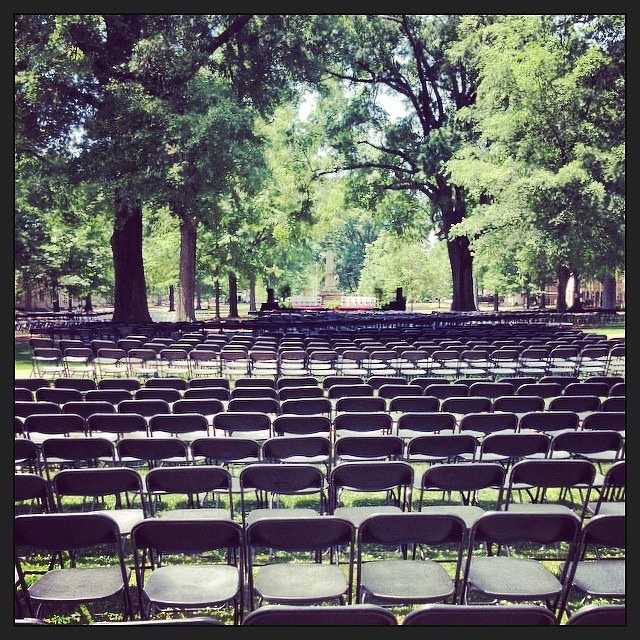
Quiet Horseshoe. Students gone. Friday morning. Not a lot of activity. #uofsc

Quiet Horseshoe. Students gone. Friday morning. Not a lot of activity. #uofsc
Chalk!

Happy Mother’s Day, Liz! You’re such an awesome mom. Love you, kiddo.

National Park Service Padlock

Walk

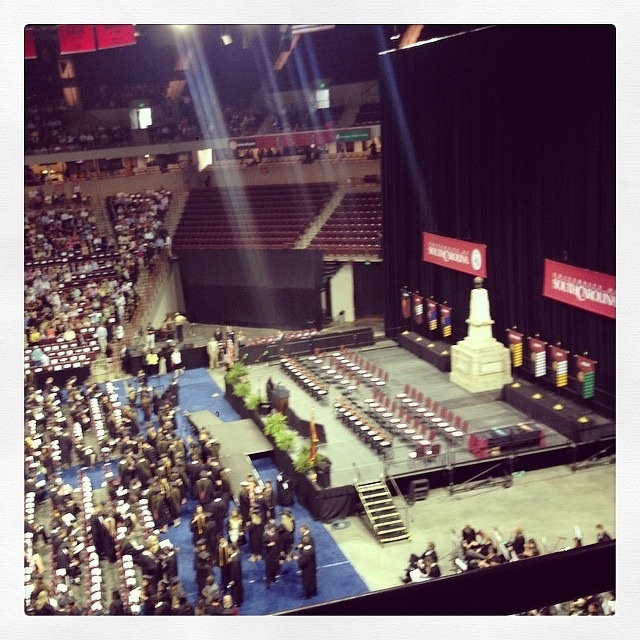
Ready for graduation.
Team Wertz

Giant tail feather flag at the office.

Chairs set up for Law School graduation.
This post was originally posted on May 7, 2014 on Sketchbook B. It’s reposted here as part of a project to move some of my favorite writing to my new site.
NOTE: While this page may have useful insights, be aware that it was published more than 10 years ago and may not be relevant for current software versions.
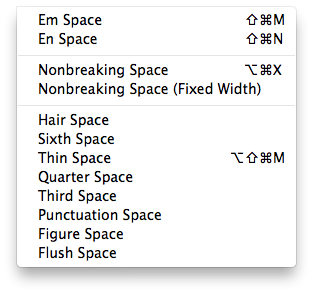
InDesign offers 14 different types of spaces. Just go to Type > Insert White Space… A very old post on Adobe’s site explains the differences. I don’t use them very often. For me, the Thin Space, Nonbreaking Space and the Figure Space can be quite helpful. It’s nice to know they are there.
Vintage bug up in smoke.

Draplin
Piano (with crown)

Piano

Quick coffee with my wife this morning.

This post was originally posted on April 29, 2014 on Sketchbook B. It’s reposted here as part of a project to move some of my favorite writing to my new site.
NOTE: While this page may have useful insights, be aware that it was published more than 10 years ago and may not be relevant for current software versions.
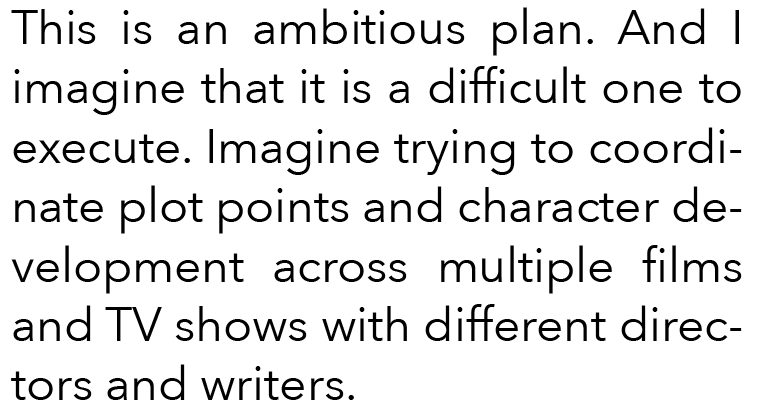
Hyphenation can be critical when you’re trying to justify text. Below is a passage with three hyphens:
Lots of people hate hyphens and might ask you to turn off hyphenation. That’s a bad idea because then it will look like this:
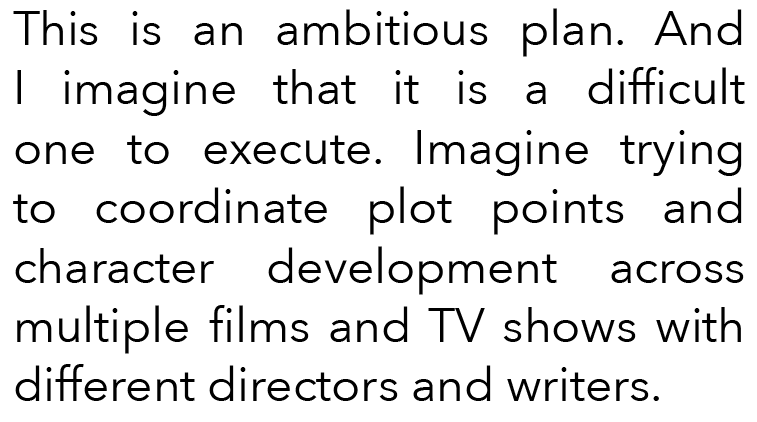
That’s some bad spacing. Thankfully, InDesign offers a better way to control hyphenation. Go to the flyout menu on the Paragraph palette and choose “Hyphenation…” A dialog box will pop up:
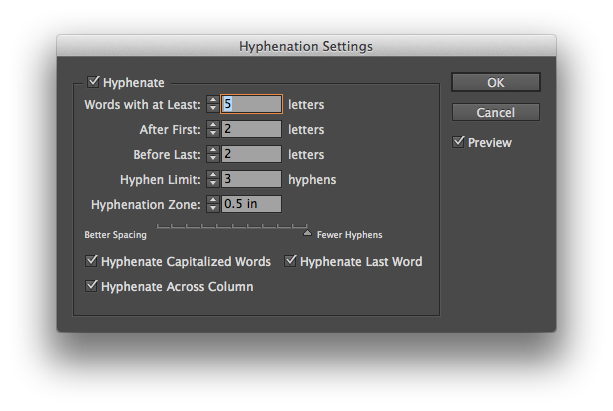
InDesign checks the entire paragraph and decides the best locations for hyphenation based on your settings. Look for the slider at the bottom of the box. On one side, you have “Better Spacing” and on the other “Fewer Hyphens.” Choosing the “Fewer Hyphens” side will only leave the hyphens that InDesign needs for proper spacing. Below is the same passage with “Fewer Hyphens” selected.
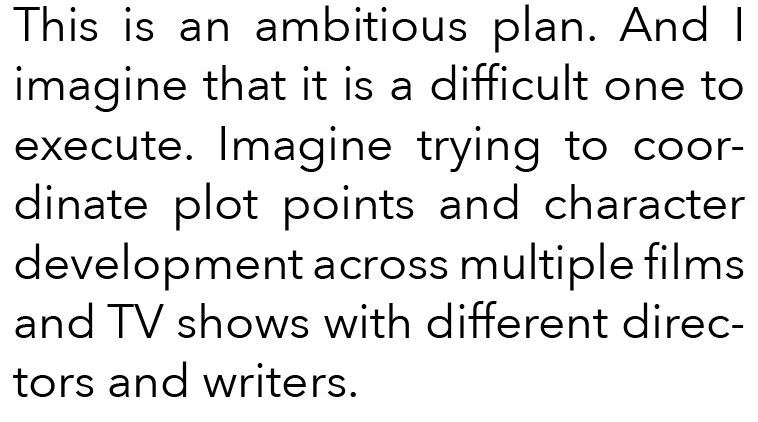
InDesign eliminated one hyphen and changed the hyphenation on “coordinate” to maintain good spacing. I usually adjust the settings with the “Preview” box checked so I can see the changes as I move the slider.
Just know that you have more hyphenation options than “on” and “off.”
Princess Ruby

Rose Garden

This post was originally posted on April 28, 2014 on Sketchbook B. It’s reposted here as part of a project to move some of my favorite writing to my new site.
Last week, Apple reported that they had sold more than a few truckloads of iPads. Of course, some Wall Street types weren’t impressed. Which led some tech writers to question the iPad’s future, Apple’s innovation, Tim Cook’s leadership style, Steve Jobs’ legacy and Jony Ive’s accent. (You can catch up here.)
Which got me thinking about my iPad and the fact that it’s the least critical computer I own.
I say this as someone who loves their iPad. I’ve got a first generation iPad mini. The non-retina one. I use it regularly. But it’s one of three machines that I own. I’ve got a MacBook Pro and an iPhone, too.
My MacBook had a hard drive failure recently. I repaired it within hours. If my iPhone was lost or stolen, I’d be at the Verizon store quickly. And if something happened to my iPad… well… I’d wait to replace it. I would miss it. I prefer the iPad for several daily tasks, but it doesn’t serve a critical function for me. I can live without it.
I don’t see this as a problem with the iPad, though. It’s a testament to how useful the iPhone and MacBook are. I need the MacBook for Creative Cloud and type design software. I need my iPhone for phone calls, messaging and taking pictures. And I use the iPhone as the network connection for my iPad and MacBook when I can’t get reliable wifi.
Not too long ago, I had a desktop and a laptop. Laptops were slow and underpowered. The screens were too small. You had a laptop for convenience, but you had a desktop to get things done. Over time, laptops improved. They got faster and had better screens. The prices came down. Battery life improved. I used the laptop more and more. And when it was time to replace my desktop, I didn’t. I bought a new laptop.
So all this chatter about whether the iPad has lost momentum? Give it time. These type of transitions take a long while.
I believe that the iPad can replace a laptop for many people. Personally, I have specific software that I want to use. It will be a long, long time before an iPad can run the design software that I need. But someday, I could see my kids with tablets as their primary computers instead of laptops.
I can confidently say that today, my iPad isn’t as critical to me as my iPhone and my MacBook. I’m not sure, however, that will be true in 5 to 10 years.
Air hockey table