Star command
This post was originally posted on April 15, 2014 on Sketchbook B. It’s reposted here as part of a project to move some of my favorite writing to my new site.
NOTE: While this page may have useful insights, be aware that it was published more than 10 years ago and may not be relevant for current software versions.
Stars and polygons are easy to build in InDesign. Most people, myself included, set the angles and number of sides by double clicking on the Polygon tool. Which brings up a dialog box allowing you to set the number of sides and star inset percentage.
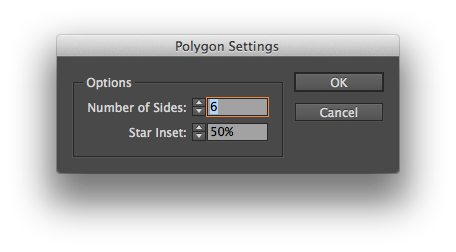
But let’s say you want to change the number of sides or the star inset angle while you are drawing the shapes? Easy. Start to draw the shape. Press the spacebar and then use the arrow keys to adjust the shape without opening the dialog box. Right and left arrows change the angle of the star inset. Up and down changes the number of sides.
**But here’s the really awesome tip.**Start to draw a star or polygon. Don’t push the space bar like you did above. Simply push the arrow keys right or left. InDesign creates a horizontal line of identical shapes. If you use just the up and down arrows, the shapes form a vertical line. Or use both sets of arrows and create a grid of shapes.
Even better, the grid tip also works on rectangles and circles, too. It’s magic.
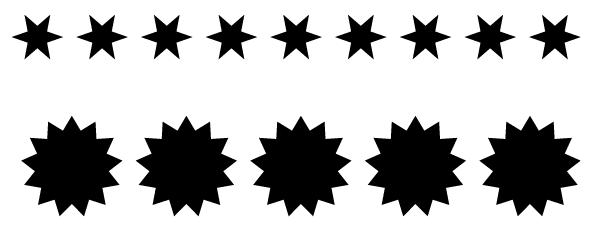
A couple of rows of shapes created with the arrow keys.
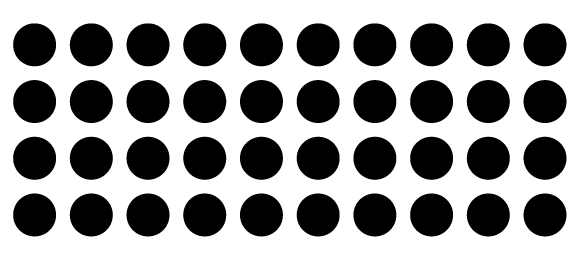
A grid of circles created using the arrow keys while drawing.
FYI: The spacebar acts like a toggle. So you can easily switch between the two modes.