Customizing an underline
This post was originally posted on April 2, 2014 on Sketchbook B. It’s reposted here as part of a project to move some of my favorite writing to my new site.
NOTE: While this page may have useful insights, be aware that it was published more than 10 years ago and may not be relevant for current software versions.
I don’t typically underline much. I usually don’t like the default thickness of the line or the positioning. But in InDesign, you can completely customize your underline styles.
To change the appearance of an underline, select some text. Go to the flyout menu on the far right of the Control palette. (That’s the wide palette docked by default underneath the menu bar.) Choose “Underline Options….” from the menu to pull up a dialog box:
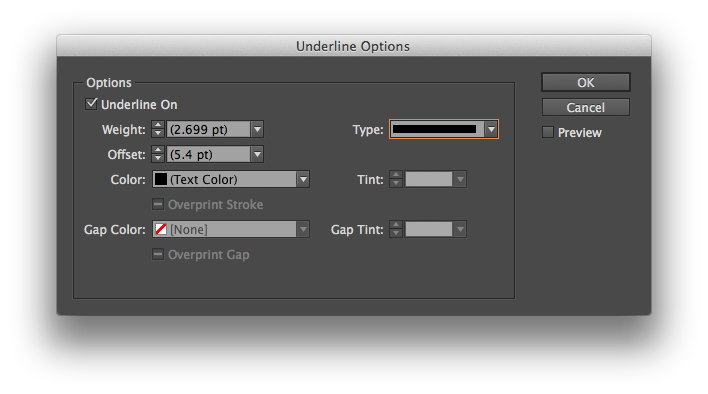
Change the weight, stroke style, positioning and color of the underline.
You can easily change the appearance of the underline – the thickness, positioning, color, stroke style and more.
Two additional tips:
- If you have created a custom stroke, you can use it as an underline too. (See last week’s tip for how to create a custom stroke pattern.)
- You can save “Underline Options” in a paragraph style to apply it throughout your document. And you can save style sheets and load them into other files.